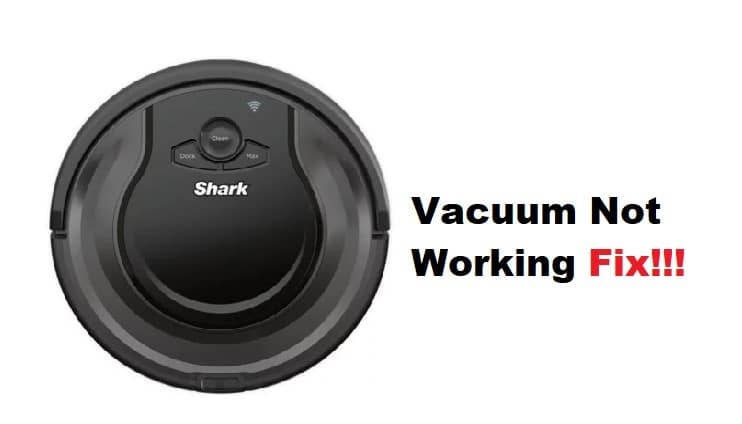
Shark Robot Vacuum might not be the best on the market, but its cleaning performance is no joke. It is true that some customers have complained about the Shark Robot vacuum not working or turning on, but once you have the system set up, it is pretty easy to get consistent performance from this cleaning robot.
So, you don’t have to worry about replacing the robot or claiming a warranty when the Shark Robot Vacuum is not working. Just follow through with some of these fixes, and the Shark Robot Vacuum will start working perfectly.
Shark Robot Vacuum Not Working
- Check Charging Status
Most of the time, it’s just a drained battery that is causing this response from the Shark robot. So, before anything else, you need to leave the robot vacuum to fully charge before using it again. Make sure that the battery status is over 90 percent, and then try engaging the cleaning schedule one more time. This should be enough to get the cleaning robot to work, and a low battery is a primary reason why users often struggle with their Shark Robot.
- Get A Battery Replacement
Sometimes, a defective battery will also point toward a similar issue, and it won’t charge properly even when you leave the robot at the station for a few hours. So, you need to get a replacement from the official store and install it on your robot. That will be enough to get the robot working again, and you won’t have to bother with further solutions. It will be a bit heavy on your budget, but the battery will last you for a few years, depending on the usage.
- Service Your Cleaning Robot
Lodged hair and debris is another reason why your Shark robot vacuum is not working properly. Ideally, you should be cleaning the robot every week. However, the majority of owners ignore the maintenance of the device and eventually run into performance issues. If you’re in the same boat, just service your cleaning robot thoroughly and make sure that there isn’t hair clogging up the system.
Servicing the cleaning robot should be enough in most situations, and you should also check the condition of the connection points. If they are damaged or have rust on them, the robot won’t charge properly. So, grab some rust cleaner and clean up these connection points to avoid further complications.
- Redefine Schedule
Updating the cleaning schedule is not a bad option when you’re struggling with the cleaning cycles. These bugs are pretty common, and a simple change in the routine will refresh the schedules. So, instead of resetting the robot at this point, you need to redefine the cleaning schedules. It might take a bit of your time to set up new routines, but there aren’t any other options when it comes to addressing these minor bugs.
- Check The Condition Of The Side Brushes
Next, you should also check the condition of the side brushes for possible issues. When the brushes are damaged or the motor is defective, the cleaning robot won’t work. So, you need to make sure that the unit is not in rough shape. If the robot is fairly new, then you’ll be able to grab a replacement from the dealer.
Similarly, you can reach out to the customer support members at any time regarding these issues with the cleaning robot. They will help you narrow down the actual issue with the robot while also guiding you through possible troubleshooting steps. So, just grab a replacement or seek help from the official support if the cleaning brushes are in poor condition or not spinning.
- Factory Reset
Lastly, a quick factory reset will also address all the programming-related bugs. If you’re sure that the cleaning robot is in good shape and there are no serious issues with the cleaning robot hardware, then you can simply proceed with a factory reset.
That should be enough to get your unit working perfectly, and you’ll notice a decent response from the smart device. However, you’ll have to set up everything from scratch, and it can take a bit of time to reconfigure and set up new routines. So, keep that in mind before you reset the unit.