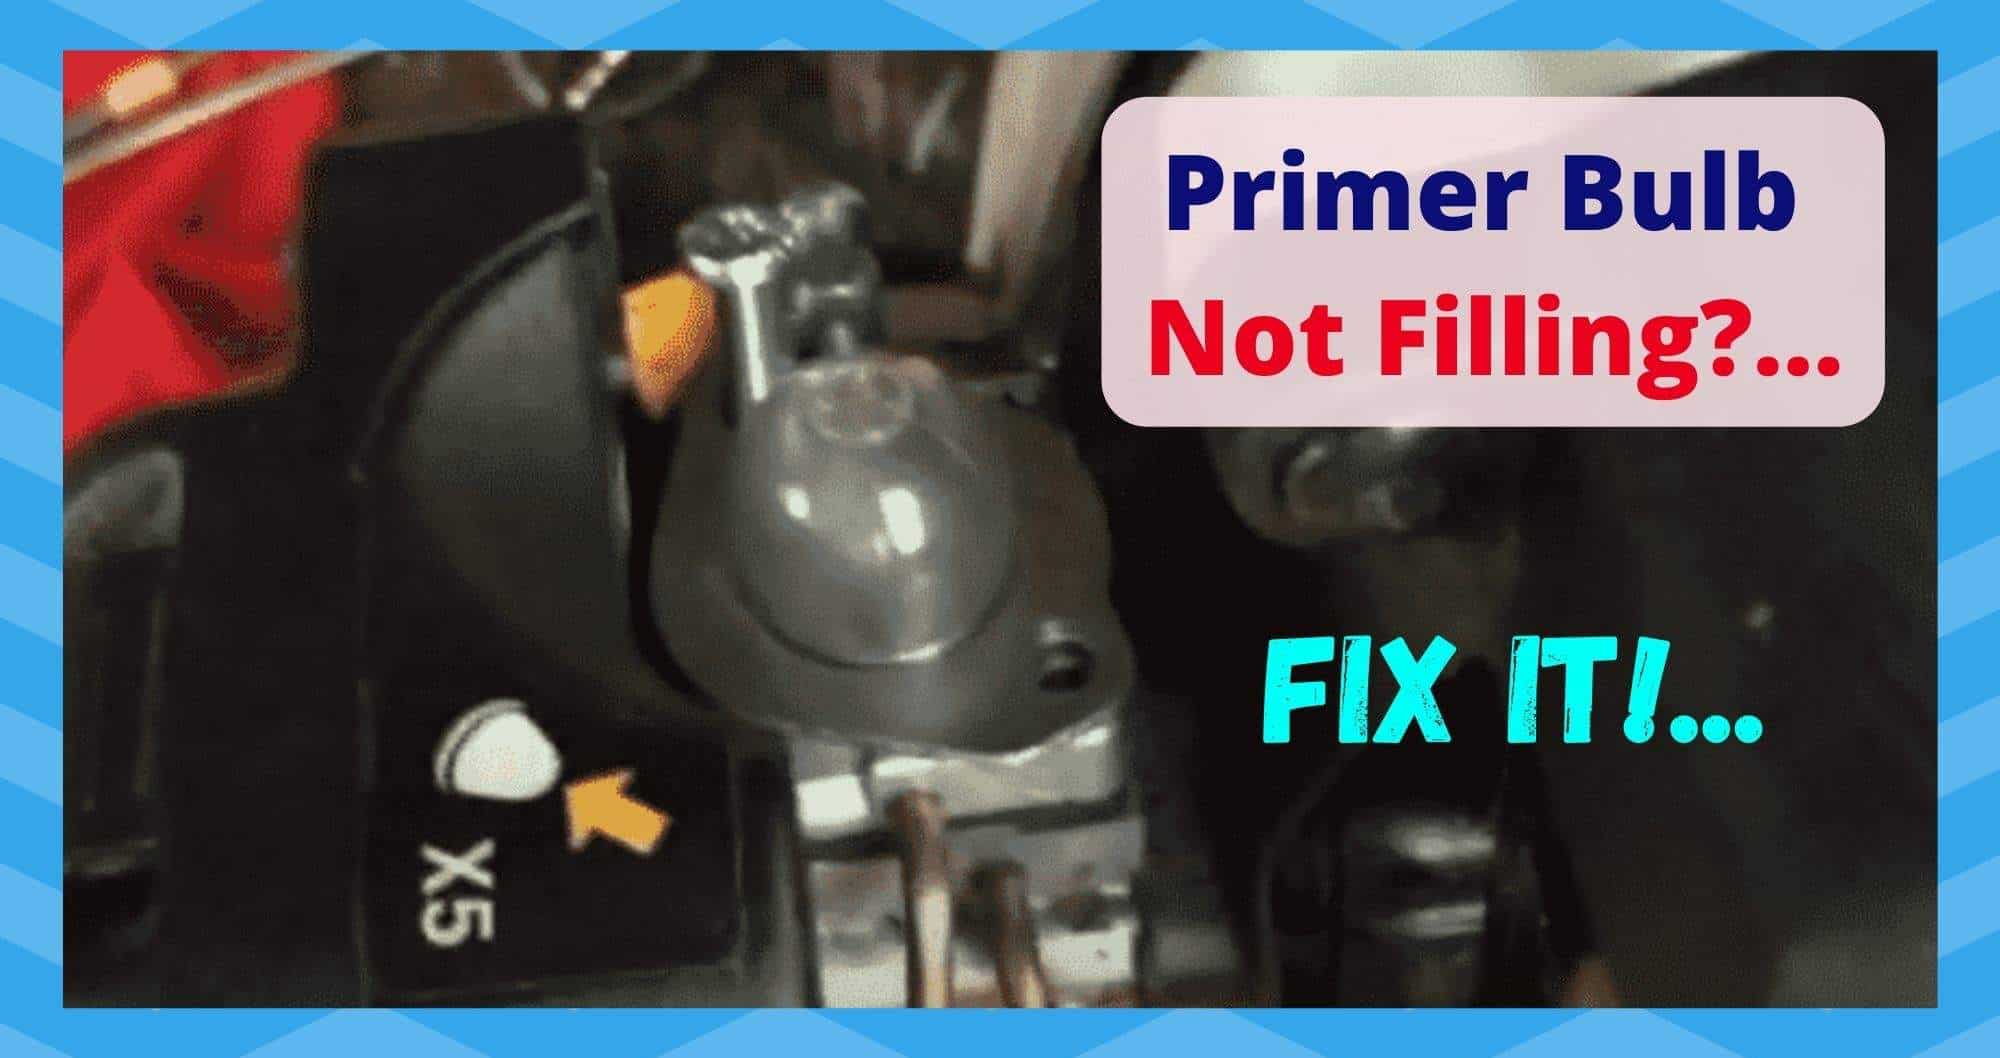
The primer bulb – it’s a small piece of kit but it serves a really important purpose. Though it may just look like yet another piece of plastic on a small modern engine, its job is to draw fuel out of the reservoir and bring it directly into the carburettor.
Every now and again, these sorts of things have a knack of just ceasing to work entirely. Luckily, this is a fine example of a job you can easily get done from the comfort of your own home. Today, we are going to show you exactly how it’s done!
Primer Bulb Not Filling? Here’s How To Fix It!
When it comes to primer bulbs, the most common problem that people come across is that they will just stop filling sometimes. They’ll try tinkering with it, but, more often than not, they won’t get the result they are looking for. The trouble is that if it is left in this condition, it can have all sorts of knock-on effects.
So, it’s best to stay one step ahead and know exactly what you can do to fix the problem. Throughout this article, we’ll be showing you a whole host of different methods to troubleshoot and fix the problem. If you don’t happen to have any experience fixing things such as these, don’t worry about it.
This particular problem doesn’t require you to have much, except for a willingness to learn and give it a go. We won’t be asking you to get into anything that’s expert level. With that having been said, let’s get stuck into our first suggestion.
1. There could be an air leak
Of all of the reasons why the bulb isn’t working as it should be, this is perhaps the most common. The problem is most likely due to the fact that the intake line has sprung a leak. Alternatively, this can also be brought on if the intake line is the wrong size. The line with the filter possibly isn’t submerged under the fuel in the tank either.
First up, you can easily grab a cup of fuel and pour it in. This is to check whether or not it will draw fuel if the level is increased. If not, we will have to move onto the next step.
2. Try giving the bulb a press
On occasion, the only thing to do to put things right is to simply press down the bulb so that it can do its job. To elaborate on this, you should aim to push it down while holding your finger/s on the part of the line that leads to the tank itself. After that, just release the bulb again.
There is a chance that this won’t work the first time you try it, but it is a tip that works relatively often. Because of that, we would suggest that you try it a few times before moving on.
With a bit of luck, the bulb should draw fuel pretty soon. If not, it might be the case that the lines are all reversed. If this is the case, you will need to straighten them out again.
3. The primer might just be faulty
If nothing has worked so far, there is a small likelihood that the primer may have developed a fault. Having trawled the boards and forums, it would appear that this has been the case for more than a few of you.
Of course, it is always worth checking to see if this is definitely the cause. That way, we don’t end up throwing away perfectly good parts.
Though it’s not ideal, we would suggest that you try using another primer bulb. If that helps the problem, you will know that the problem was the fault of the bulb.
4. You may need to have the fuel lines replaced
Unfortunately, if switching out the primer didn’t do anything to remedy the situation, that would indicate that you may need to change out your fuel line for a new one. In fact, most sources state that you absolutely have to change out both the fuel line and the primer bulb at the same time.
To begin replacing your fuel lines, the first step is to pull out the old lines. This should be easy enough. Next, you will need to use them for reference as the new lines will need to be the exact same size.
Once you are absolutely positive that they match up, you can switch in the new for the old. Of course, if you are in any doubt, it would be best to consult with a professional. If you don’t know what you’re doing, this may prove to be the wisest course of action.
Read also:

can the fuel line be to long?