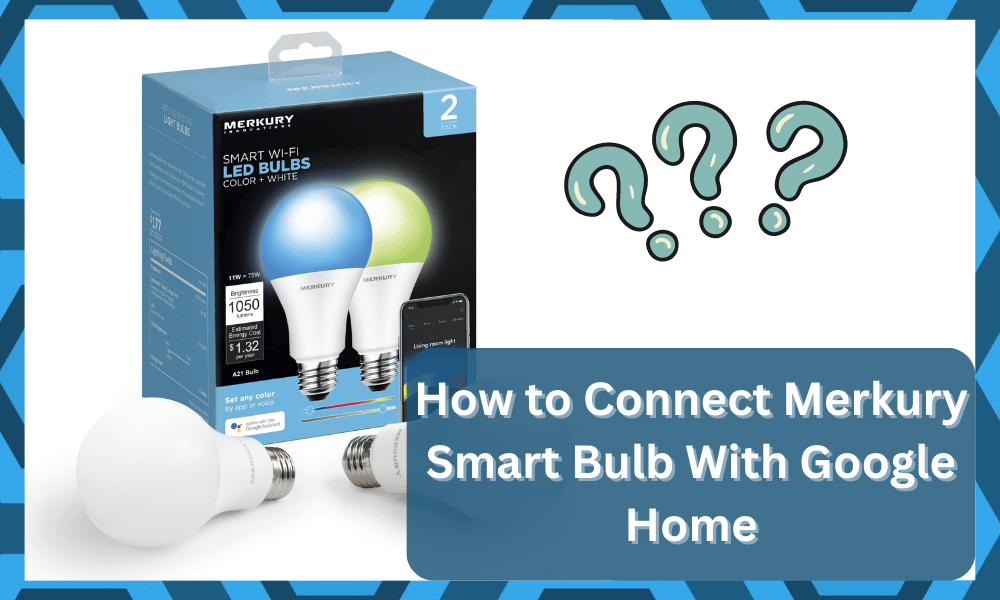
Google Home offers a great way of being able to control all the smart lights in your house. Using a single app, you can have complete control over all compatible smart appliances.
Though before you can use any of the devices, you will first have to connect it to Google Home.
Luckily, there are no extensive routines involved, and setting up the Google Home unit is fairly easy with the majority of smart lighting options.
You will have an effortless time as long as you’re working with compatible options like Merkury smart bulbs.
Talking about this, we have had plenty of users ask about how they are supposed to connect their Merkury Smart Bulb with Google Home.
Connect Merkury Smart Bulb with Google Home
Using this article, we will be explaining the whole process in a simple step-by-step manner.
You just need to make sure that the power connection to the bulb is optimal and that there are no issues with the main power supply.
From there, you can proceed with the setup accordingly without worrying about any complications down the road. So, here is what to know!
To configure your light bulbs with Google Home, follow these steps:
- Start with plugging the smart bulb in the same room as your Google Nest or Home speaker.
- Ensure that you have set up your speaker or display.
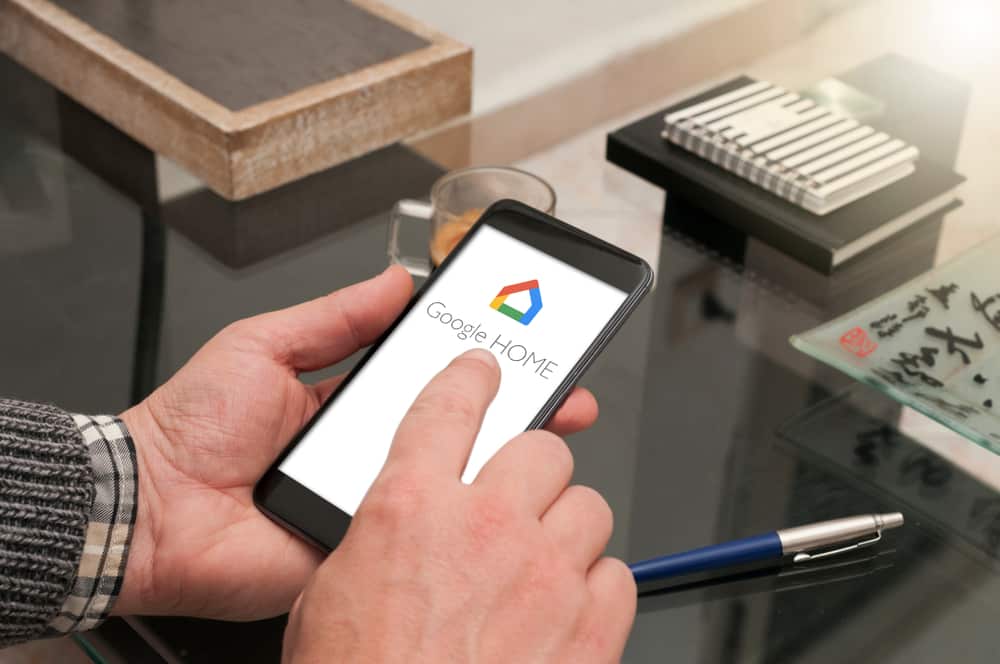
- Open your Google Home app on the phone.
- Click on Add +, found at the top left corner, and choose Set Up Device, followed by Work with Google.
- Now, select the light bulb that you’d like to configure with your Google Home.
- Once you choose, the light bulb should start blinking.
- You will have to choose the room where your light bulb is located. To create a custom room, go to “Add a custom room,” where you will be prompted to enter the room name.
- Add a unique name for the bulb. Keep in mind that you will be using this particular name to call your light bulb through voice commands. This is why we recommend not adding a name similar to your room name, as it can interfere with the voice commands.
- You should get a prompt about setting up your smart lights, during which your bulb might blink a couple of times.
- Once your light has successfully been set up, choose Done.
After going through these steps, you should be able to successfully control your smart lights through both your speaker as well as the display.
Similarly, it is important to mention how there will be certain instructions that you might have to follow on-screen.
For configuring the light bulb itself, you will have to refer to the Merkury smart bulb user guide, which should have instructions on how you can do so.
Likewise, you may need to set up a hub or bridge as well.It can take a bit of time to manage all of the intricate details, but you’re not left with many options here.
You can also ask other users on the community forums to guide you through the intricate details of the setup.
They will make your life much easier, and you will not have to struggle with these errors yourself.
Using a 2.4GHz Network
After setting up your Merkury Smart bulb, you may notice issues with the connectivity if you are currently connected to a 5GHz Wi-Fi network.
It is not a rare issue, and you will have to tweak some configurations to get ahead of these errors.
While Google Home fully supports the use of a 5GHz network, you might not be able to have much luck with the Merkury smart bulb as it only supports 2.4GHz.
So, be sure to keep that in mind when you’re struggling with the basic setup. Needless to say, you can easily swap between a 2.4GHz/5GHz network whenever you want.
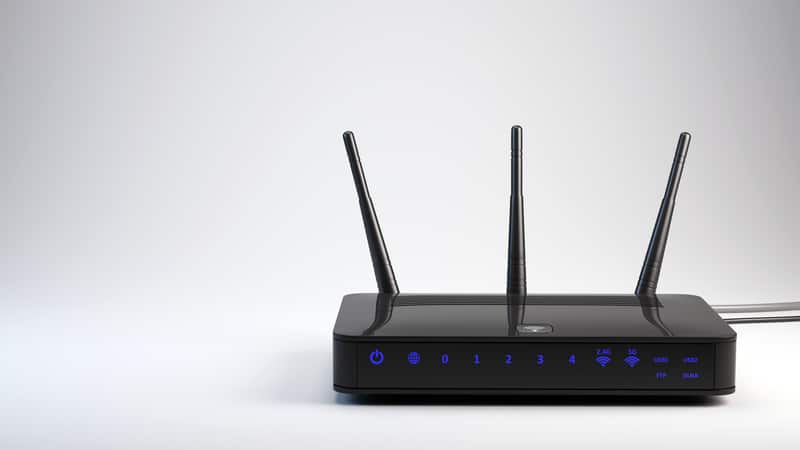
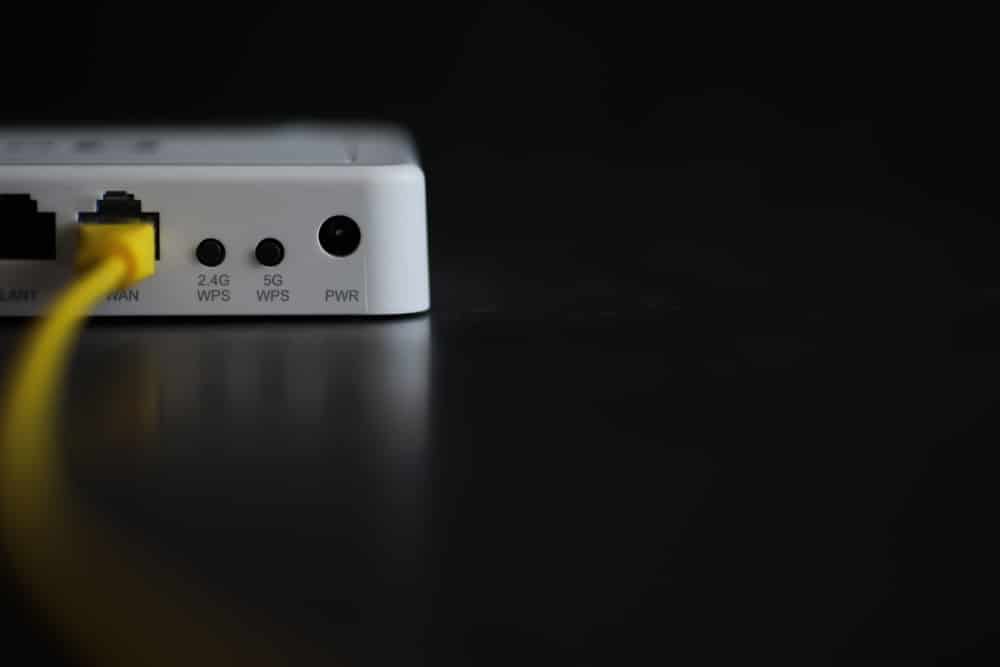
To do this, all you have to do is to access your router’s settings. Under these settings, make your way to Wi-Fi settings. You should be able to find an option for changing your Wi-Fi network band.
You must ensure that you have this option selected to 2.4GHz. After making the changes, save and reboot your router, after which you shouldn’t face any kind of connection problems with the device.
The same goes for users working with a dual-band router. While having a dual-band router is always better than your traditional unit, it can create some issues with the connection.
This is especially true if you didn’t take the time to manage the credentials between the 2.4 GHz and the 5.0 GHz network.
So, all that you need to do to avoid this issue on a dual-band router is to change up the credentials for the 5.0 GHz and the 2.4 GHz network.
Otherwise, the lights will not be able to establish a stable connection, and you will not get anywhere with the Google Home integration.
Ideally, all issues will be addressed right here, and you can further limit the errors by temporarily turning off the 5.0 GHz network.
It all comes down to how you’re planning on maneuvering through the situation, and following through with these pointers should be more than enough to help you battle connectivity issues.
However, if you still seem to be struggling with using the device and Google Home, you can try contacting customer support.
They should be able to guide you further and advise steps on what you could do to have your lights work with Google Home.
On the other hand, issues with the lights can also create some problems with the connectivity status.
Troubleshooting Merkury Smart Bulb Not Working With Google Home
If you come across issues with the Merkury unit not working with Google Home, then there is a good chance that there are problems with the bulb programming.
These minor bugs can present themselves from time to time, and you will need to fix them accordingly. The best thing that you can do to fix these issues is to power cycle the smart bulbs.
That way, you will not be losing on any configurations and will have to go through the minimal hassle to get rid of the programming bugs.
From there, you can test out the response from the main unit one more time. Ideally, all errors will be addressed right here, and you will not have to deal with more complications.
However, if you’re still not able to pair up these bulbs, then the best thing that you can do is reset the bulbs. That will wipe away all of the configurations, and you will have to set up these units from scratch.
Sadly, there are no other options left here, and you can test out the connection one more time after resetting the unit.
Hopefully, you will be able to establish a stable connection this time around and won’t have to worry about minor programming errors again.
Just make sure that the router connection and the power side of things is managed properly. That will ensure that you get a consistent response from the unit.
Lastly, you have the option of reaching out to Merkury support about this issue. They will be more than happy to take a peek at your case when you can’t seem to figure out the issue on your end.
All that you need to do is to explain your end, and the dealer will take charge of the situation.
From there, you can just follow along with the pointers provided by the dealer, and he will make your life much easier.
If you find the unit to be defective, then you can demand a fresh piece from the dealer. That will make it much easier to avoid programming errors down the road.
The Bottom Line:
Even though Merkury smart bulbs fully support the use of Google Home, users still struggle when attempting to use the two with each other.
The majority of these issues can be fixed by a quick power cycle, and you will not have to deal with any of the minor bugs.
However, If you seem to be struggling with one of them, then make sure that you refer to the article above.
We have mentioned step-by-step instructions on how you can connect your smart lights with Google Home. Hopefully, you will not have to call in an expert or rely on any professional here.
Setting up the unit will be fairly simple and will barely take you ten minutes to get through the whole setup routine.
On the other hand, if you can’t seem to figure out the setup between Google Home and the Merkury lighting options, then seeking help from official support is the better idea.
You should just call it a day and leave this job to the professionals. They will guide you better on how to go about fixing these errors, and you will not have to deal with the minor bugs on your own.
Moreover, if you find the unit to be defective, you can always demand a replacement from these professionals.

