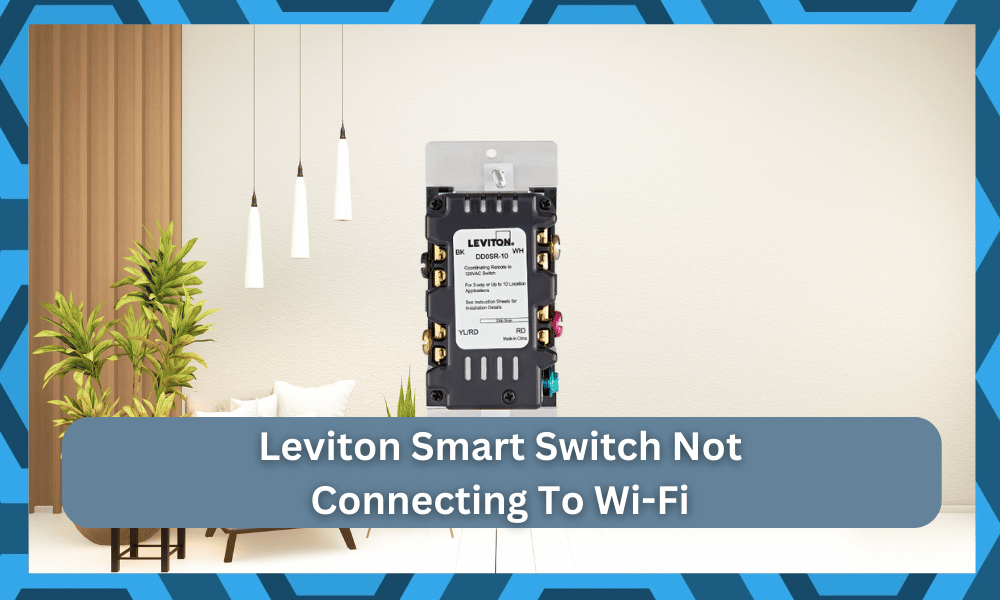
A smart switch is an incredibly useful device that plays an important role in a smart home. Through using a smart switch, users are allowed to have more control over how they interact with their house as well as save more energy.
How to Fix Leviton Smart Switch Not Connecting to Wi-Fi?
Quite a number of users have been experiencing difficulties while trying to use the smart switch. According to these users, whenever they try to use their smart switch, they get a connection error.
More specifically, their Leviton smart switch is not connected to Wi-Fi.

Today, we will be using this article in order to explain exactly how you can fix these issues. All of the different ways how you can fix this issue are mentioned right down below:
1. Try Factory Resetting
One of the first things that you can try in order to fix the issue is to try resetting the device. In order to do this, you will have to press and hold the Wi-Fi device and try holding the top button for around 15 seconds.
There should also be a visual queue (an LED starts to flash in amber and red). Once you get the visual queue, you should release the button. Afterward, you should see a green LED light.
Once that happens, you will have successfully factory reset your device.
2. Try Changing Your Wi-Fi Band
Another really common reason why you may face this issue could be the Wi-Fi band that you are currently using.
Either way, you will have to access your router settings. Under the Wi-Fi tab, check whether you have 2.4GHz or 5GHz selected as the Wi-Fi band.
Try swapping to either and see if that does anything. One more thing that you can check is that you have a different SSID for both the 2.4GHz Wi-Fi band as well as the 5GHz Wi-Fi band.
If you have the same SSID for both Wi-Fi bands, then you will most definitely face this issue.
3. Limit Range Between Devices
Sometimes, you will have to check the range between the smart device and the router. The distance between both devices should be less than 25 ft. at all times. If you increase the distance more than that, then the signal strength will decrease.
This 25-foot limit assumes that there are no interferences or thick walls between the system.
So, if you’re also struggling with the same issue, try adjusting the system by bringing the router closer to the switch. You need to find a decent spot that improves the signal strength here.
Next, you need to also fix the orientation of the router and make sure that the switches are in direct line of sight from the router.
This is not mandatory, but it will surely help with signal strength. So, be sure to do that when you can’t seem to get through the fix.
4. Check For Interferences
Interference from other devices will also lead to the same situation where you won’t be able to secure any response from the unit.
So, if you’re short on luck and don’t know how to adjust the system, be sure to limit the number of wireless devices in the room.
It is never a good idea to have a cluster of wireless devices on the same network, as the interference will just impact the quality of the network. From there, you will struggle with the system and won’t be able to get any response from the device.
All that you’re trying to do here is make sure that the presence of other wireless units is not impacting the system. That way, you will be able to avoid a ton of issues down the road as you try to adjust the system.
So, be sure to keep that in mind when you can’t seem to get a response.
5. Try Power Cycling Both Devices
Another basic fix that helped countless owners fix their units was to power cycle the devices by removing the power completely from both units.
This will not only refresh the network status, but you will also address minor programming bugs in the smart switches.
So, to fix both of those situations, you just have to remove the power from the unit and then power cycle the system once. After a few moments, you can try going through the connection routine one more time.
This time around, you will notice a consistent response from the unit and won’t have to bother with the same errors. So, test out the unit by power cycling both devices and then going through the connection routine.
6. Change Wi-Fi Credentials
Sometimes, the issue is with the Wi-Fi credentials and not the switches or the router.
Having special characters in the username and the password might seem like a great idea, but it creates problems for some smart units, including the Leviton smart switch.
So, if you’re using special characters like a hashtag or a dollar sign, we suggest that you update the credentials on your router. Some owners also said that they had to reset the router to get back to the default configurations.
Keep in mind that changing the router credentials or resetting the router will remove every device from the network. From there, you will have to set up the unit from scratch, and there are no quick methods here.
So, be sure to set aside some time on the weekend and go through the setup routine as you try to adjust the system. It will barely take a few moments, and you will be able to get through the setup routine in no time.
If you’re lucky, the situation with the Wi-Fi credentials will be fixed as soon as you remove the special characters and try out the different usernames and passcodes for the 5.0 GHz and the 2.4 GHz bands.
That way, it will be easier for your unit to connect to the 2.4 GHz band every time.
7. It is Time To Reset The Switch
At this point, you should just reset the unit back to factory settings. There is something wrong with the switch, and you shouldn’t take more chances here. If the hardware seems to be in good shape, then you’re on the luckier end of the deal.
Resetting the system is one of the most consistent methods of fixing minor errors with the machine. So, all that you’re trying to do here is get everything back to factory settings.
From there, you can set up the unit one more time to avoid issues down the road.
It will not take up much of your time if the internet is working perfectly. So, be sure to keep that in mind when you’re struggling with minor connectivity errors.
Hopefully, your router connection will come through this time around, and you won’t have to deal with more errors down the road.
8. Check Your Internet
It could be that the reason why you can’t get the smart switch to connect is simply that your internet is not working.
You can further check this by running an internet speed test. If you are not getting the desired internet bandwidth speed, then you will have to contact your ISP.
They should help you be able to resolve your internet issues.
The Bottom Line
Following are the different ways you can fix Leviton smart switches not connecting. Ensure that you follow all the instructions that we have mentioned in the article.
In case of any queries, be sure to leave down a comment in the comment section down below.
The fix here is fairly simple, and you need to focus on improving the signal strength and removing the interference from the room.
Next, you can test out the configurations one more time as you try to fix the errors with the switch not connecting.
Lastly, you have the option of resetting the unit or calling the dealer for a replacement. So, be sure to test out all of the methods before you reach out to the dealer about a new unit. Hopefully, it won’t come to that, and the unit will be fixed in due time.


I had 3 Leviton device fail at the same time and the LED light does not show to reset. 2 Decor Dimmer Switched and 1 plug in. What is next to troubleshoot the problem. I have checked the circuit breaker and that is good. Also the switch in the same box on both switches is working
Very frustrating, two of them will work and one constantly goes dead. Have to always reset it and reconnect it to the Internet. Always at random times very inconvenient.
I’ve tried all of the fixes for my 2 leviton switches 1st generation but it still say’s that it’s unable to join the network
Any more suggestions.