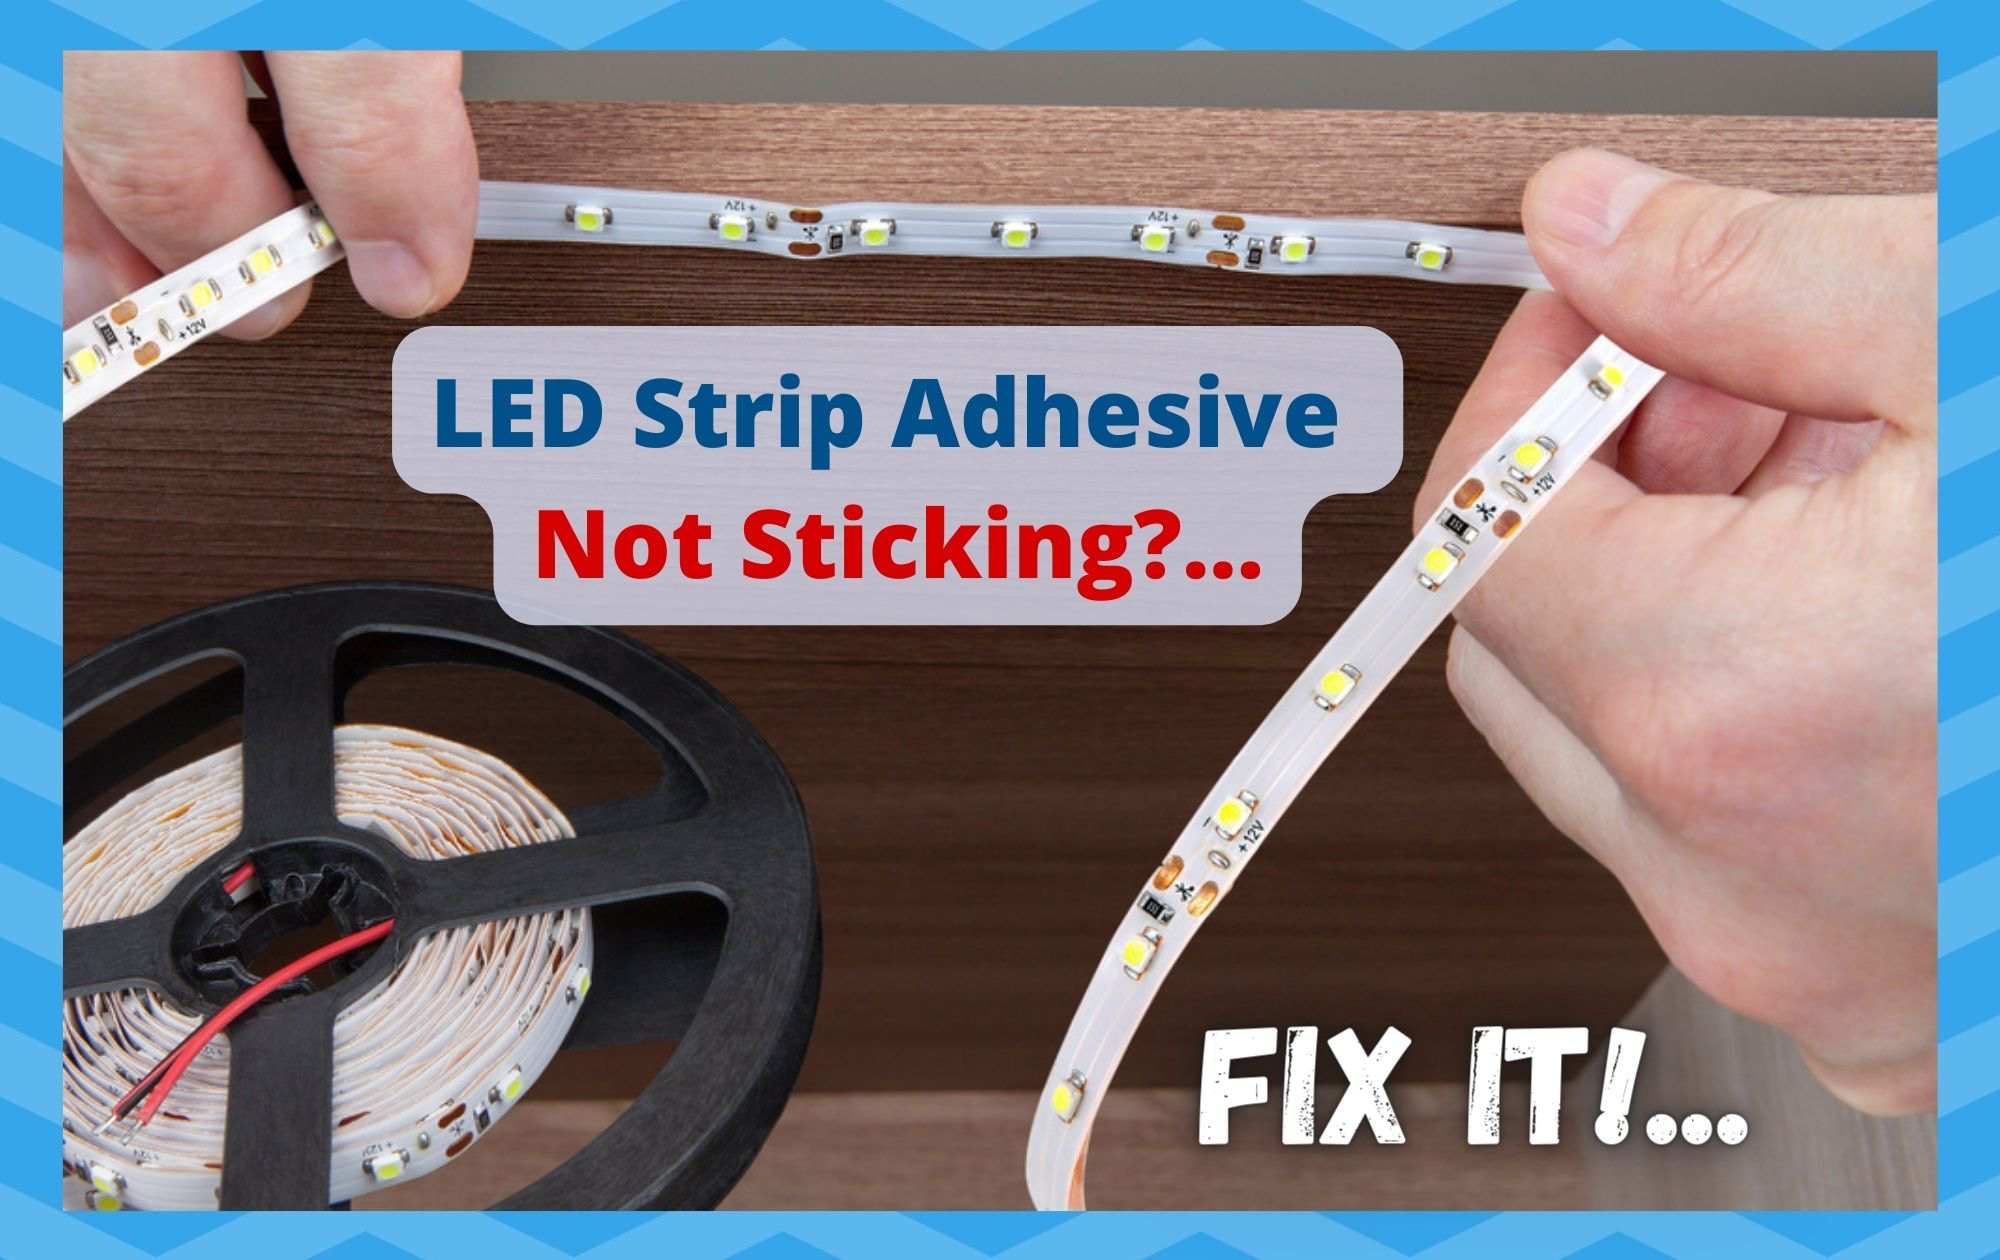
One of the easiest ways to brighten up your home and add a pop of color in it is to install LED strip lights. There’s a wide variety of these kind of lights on the market ranging from inexpensive to more pricey ones.
They are certainly a fun way to decorate your room or your house without having to put too much work in. Setting them up is normally pretty simple too. Well, normally.
If you’re having some issues putting the lights up or if they keep falling off your walls, don’t worry. It’s not as uncommon as you think. A lot of the time this happens because the brand that produces those lights uses low quality adhesive, so when you try to set them up, the tape won’t stick to the wall.
It’s easy to see how this can be quite irritating. Having to re-do this task all of the time will definitely destroy the novelty. At some point, you’re likely to just give up and leave them down.
Fortunately, there are some easy fixes for this type of situation. In this article, we’ll show you some cheap and effective was around the problem.
LED Strip Adhesive Not Sticking?… Fix It!…
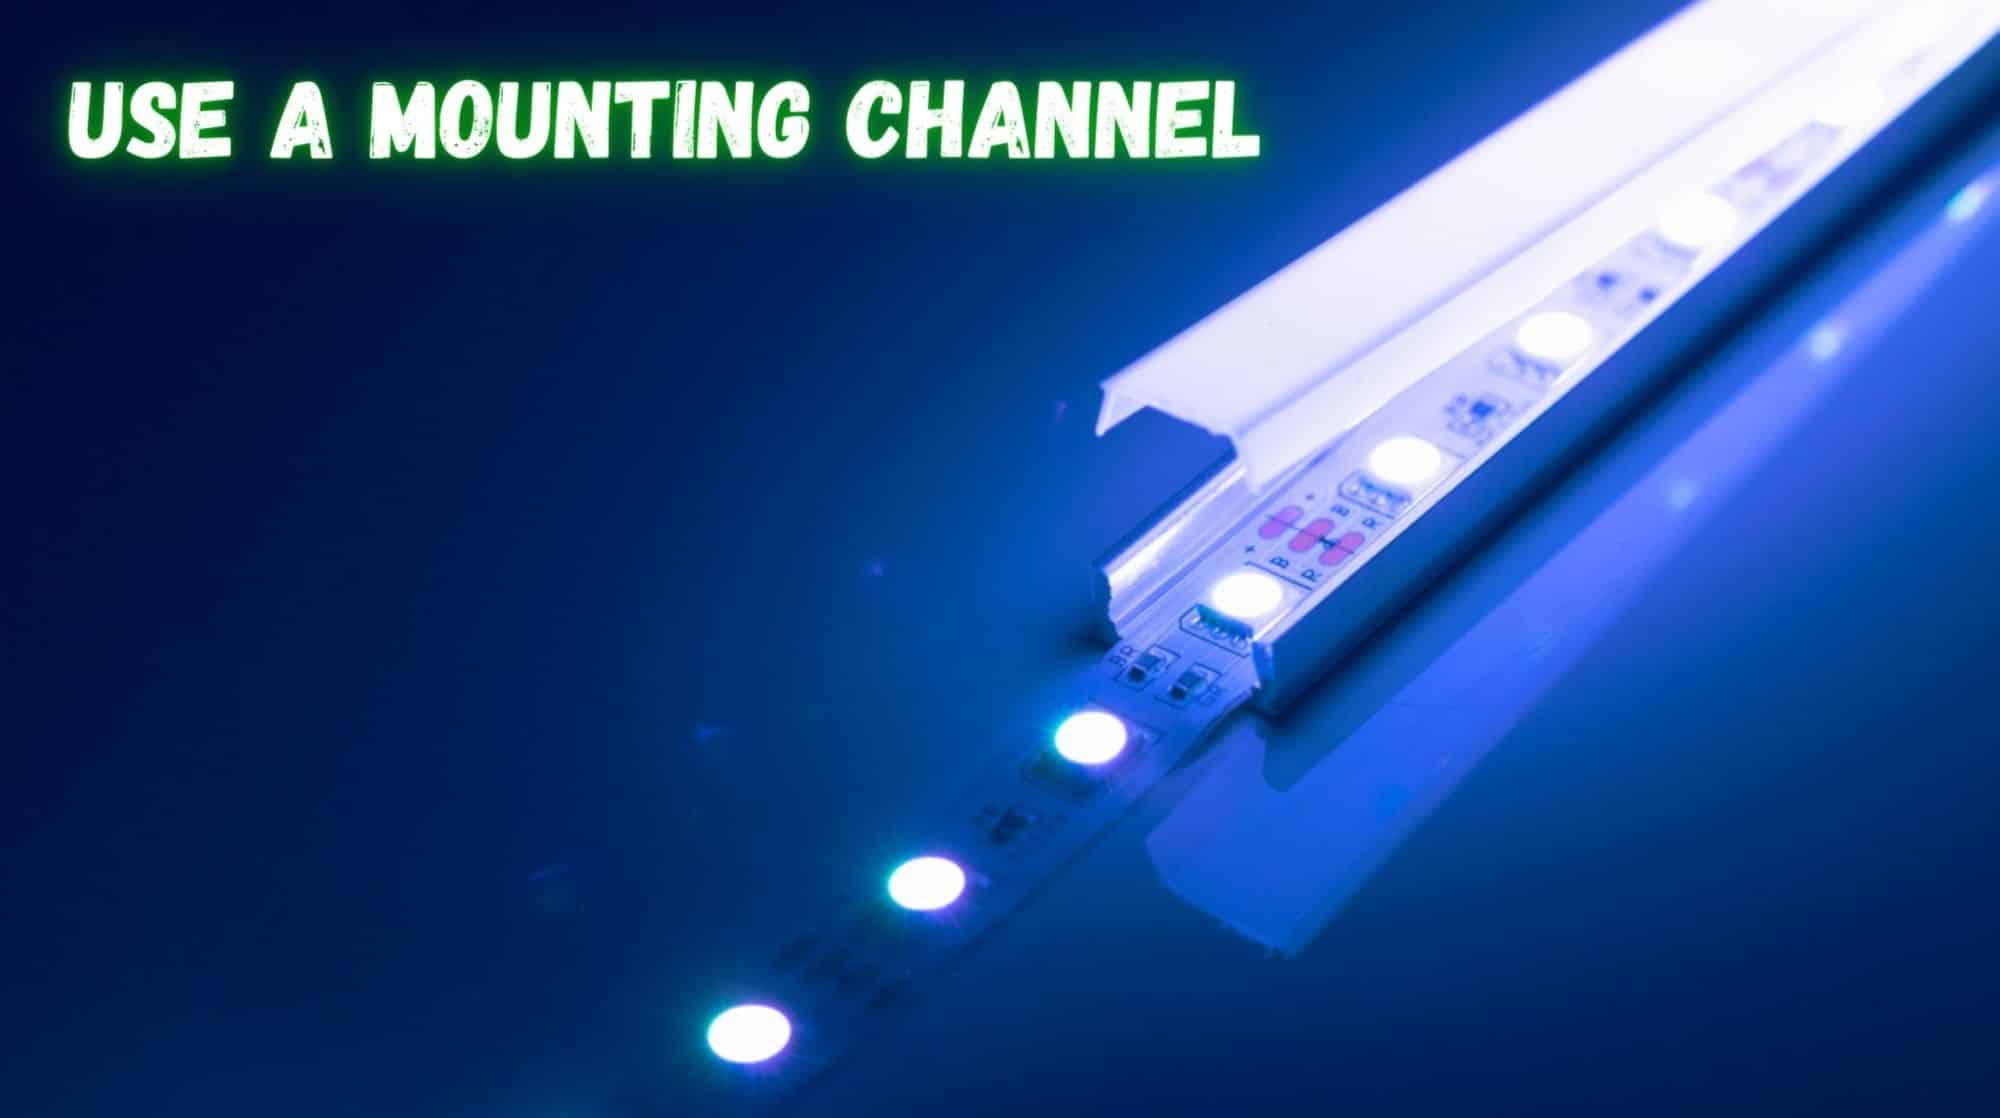
1. Use a Mounting Channel
If your LED strips won’t stick to your walls, a mounting channel is a good alternative. It will secure the light strip into place. It will also provide a very clean, refined, and neat look. The mounting channel completely covers both sides of the LED strip so the light can only be emitted from the front of it.
Some users would argue that it looks much better that way than with just a bare LED strip taped to your wall. It also looks stylish whether you have your lights on or off.
It doesn’t cost much money to get a mounting channel and it’s quite simple to install it. All you need to do is open the channel, position the LED strip inside and simply close the channel when you’re done.
Make sure not to forget to connect the light strip to the power source on both edges. Once you’ve done that, you can organize the cables a little bit and that’s it. The lights are now set up and you can turn them on and enjoy the view.
2. Use Mounting Clips
Similar to the previous option, you can get mounting clips. They might not look as good – but they do come for a fraction of the price of the mounting channel. So, it’s easy to see why some people prefer using them instead of the channel. They cost no more than a couple of dollars, depending on the store you’re buying them from.
They are very simple to install using a drill or a few nails, and once installed, they are quite sturdy. For esthetic reasons, we suggest that you use these clips in places where you can only see the light being emitted and not the light strip itself. For instance, they’re great when placed on the underside of your couch or your table.
3. Use Double-Sided Tape
Even if you don’t have problems with the LED strip adhesive not sticking to the wall initially, chances are that after some time the light strips will come off.
That’s why it’s a good idea to buy some double-sided adhesive tape along with your LED strips. It will certainly strengthen the hold of the original tape making it much harder for the lights to fall off.
You can decide how much coverage you want and cut the tape accordingly. Once you’ve cut it, simply apply it to the back of the LED strips and fix them onto a wall.
This method is somewhat easier than the methods mentioned previously. It also looks quite nice since the double-sided tape is practically impossible to see once applied to the back of the strip.
The Last Word
Another thing you can do if you’ve come across this type of issue is to contact your distributor and inform them about the flawed adhesive in the light strips. That way they can send you a replacement and, with some luck, you’ll be able to fix them right up.
All things considered we still suggest that you get the mounting channels, even if there’s nothing wrong with your adhesive. Your lighting will look really good, and the channels provide stability that double-sided tape does not.
If you do decide to get the channel, it might be smart to ask a friend to help you set it up since it can be quite tough to do it on your own.
Read also:
