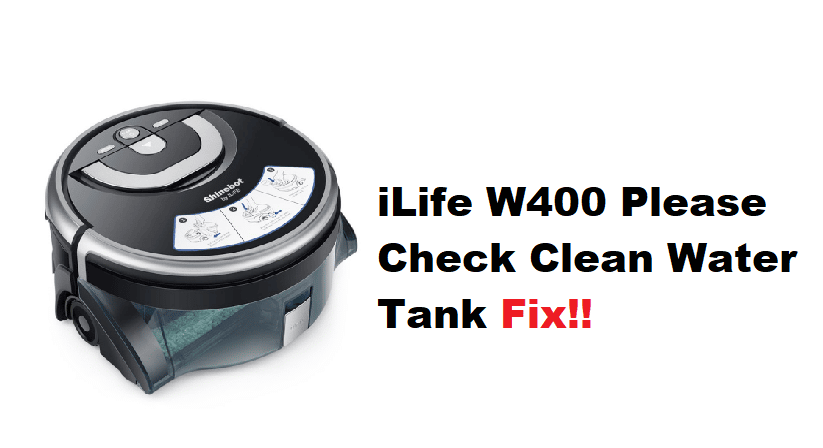
If you have an iLife W400 robot vacuum and you’ve been getting the “, please check clean water tank” error, don’t worry! We’re here to help. This blog post will explain what to do if you get this error and list possible ways to fix it. Keep reading for more information.
A few common reasons for this error include
- An empty water tank
- A dirty water tank
- A clogged water tank
- An Infiltrated Water tank
- Water inlet clogged
- A damaged water sensor
- Water leak
- Damaged water pump
Let’s get to the part where we tell you how to fix these issues!
How to Solve iLife W400 Please Check Clean Water Tank?
- Water Tank Must Be Properly Seated on the Vacuum
Begin by ensuring that the water tank is properly seated on the vacuum. If it’s not, then that could be causing the error. The correct way to fix the water tank is to ensure it’s snapped into place on the vacuum. You should hear a click when you fix the vacuum in. If you don’t, try snapping it in and out a few times until you hear the click.
- Water Tank Must Be Filled with Clean Water
The next step is ensuring the water tank is filled with clean water. A preferable way to do this is to utilize distilled water. You can find this at most grocery stores. If you can’t use distilled water, you can use tap water, but make sure to filter it first. Otherwise, consider boiling tap water but don’t risk using dirty water as it can damage your vacuum.
- Clean the Water Tank Regularly
To prevent this error, cleaning the water tank is preferable. Consider using vinegar and water solution. Take equal parts vinegar and water and mix them to clean out the water tank. Doing this will help keep the tank clean and prevent any build-up. If you don’t want vinegar, consider using mild soap. Before using soap, dilute it in water and make a solution. Once you’ve used soap, it is advisable to clean it out thoroughly. The same goes for vinegar; the last thing you want is a pungent after-smell.
- Check The Water Level Sensor
If the error persists, the next step is checking the water level sensor. This is present in the water tank. To do this, you’ll need to remove the water tank from the vacuum. Once you’ve done that, look at the sensor and ensure it’s clean. If it’s not, then clean it off with a cotton swab. Consider blowing it out with compressed air. Once you’ve done that, put the water tank back on the vacuum and see if the error is still happening.
- Check For Water Leaks
The next step is to check for water leaks. You’ll need to remove the water tank from the vacuum and look for leaks. If you see any, you’ll need to replace the water tank. The most reliable way to get a replacement is to buy a new one from the iLife website or a trusted retailer.
- Clean The Water Inlet
If there’s no leak and the water level sensor is clean, the next step is to clean the water inlet. The clean water inlet is at the bottom of the vacuum. To do this, you’ll need to remove the water tank and look for the inlet. It’s a small hole that the water goes into. Once you’ve found it, use a cotton swab or compressed air to clean it out. Make sure that no dirt or debris is blocking the inlet.
- Replace The Water Pump
If you’ve tried all of the above and you’re still getting the error, the next step is replacing the water pump. The water pump is inside the vacuum. To do this, you’ll need to open up the vacuum and locate the pump. Once you’ve found it, unplug it and then remove it. You can then install a new water pump and plug it back in. Close up the vacuum and see if the error is still happening.
If you’re still getting the error after all this, you may need to contact iLife customer support. They will help you troubleshoot the issue and assist you in getting it fixed.
Thanks for the write up, I’d love to say it helped. Pictures would be great! Yeah where is this water level sensor?
Where is the water level sensor, is there a diagram anywhere labelling these parts?