iLife robot vacuums bring a durable frame to your smart home along with a ton of features to keep your home clean at all times. These units are not that expensive and will fit right into your existing smart system.
The reviews have nothing but great on these smart systems, and you’ll enjoy years of consistent performance. Moreover, the maintenance is not that complicated, and a few minutes of your time each day will keep the robot in perfect condition.
Even if the robot runs into some performance errors, it is pretty easy to isolate the issue by going through the error codes. So, just inspect the error codes and fix the unit accordingly.
Here are some of the more common iLife error codes to help you better manage your device. So, if you ever run into issues with your cleaning robot, follow through with these fixes.
iLife Error Codes- How to Fix Them?
- E11 & E12
The error codes E11 and E12 present wheel-related issues. Usually, when you ignore the maintenance requirements of your machine for a long period, these errors will present themselves out of nowhere.

So, if you’re in the same boat with the wheel condition, the fix is to clean up the base. You need to make sure that the device is clean and that there is nothing blocking the wheels from rotating.
This is especially true for customers with pets, as pet hair can clog up the system. So, just follow the basic cleaning routine to address these errors.
- E13 & E14
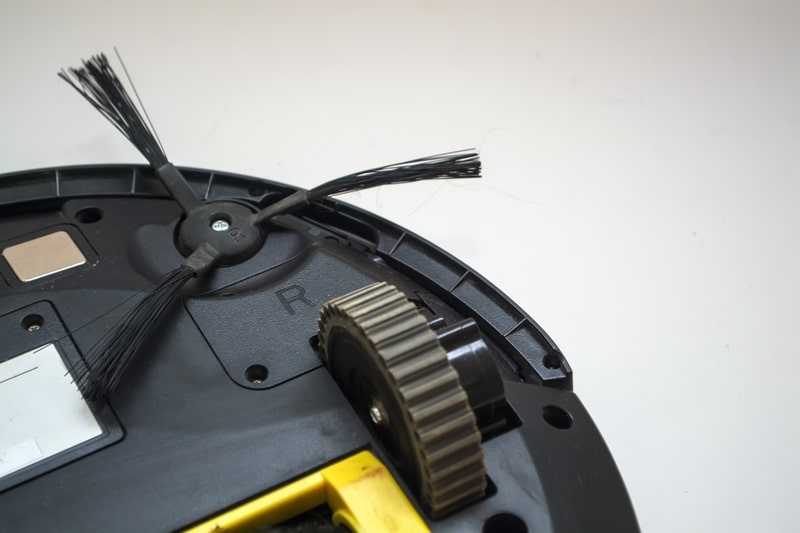
The E13 and E14 errors are caused by the restricted rotation of the brushes. You need to fix up these pet hair from the side of these brushes to free up the device. It will only take a few minutes to get through the maintenance cycle.
So, just address these errors by flipping over the robot and then pulling away all hair before you clean the base with a damp cloth. That should be enough to fix these errors.
- E21
This error presents itself when the robot is suspended near a ledge. However, if you’re sure that the floor is level and there are no bumpy regions, just clean up the cliff sensors.
If the issue is not fixed even after cleaning the sensors, then these sensors might be damaged. So, try to isolate the issue with the damage and proceed with a warranty claim to address these errors.
- E22
The E22 error underscores malfunctions with the bottom view component. It is pretty common for the bottom view to get damaged when your floor is not level. So, even though the robot is pretty durable, the performance will decrease by a decent margin when used on a bumpy section.
To avoid these errors, try to find a smooth patch of the floor to use these sensors. It will help you narrow down the problem, and you should check the base for damaged sections to fix these errors.
- E23
E23 error code only points towards bumper malfunction, and you need to check for hardware issues in this situation. The error E23 mostly suggests that the bumper is damaged or misaligned.
If you’re lucky, a quick adjustment of the bumper will address these errors. On the other hand, you will have to get the bumper replaced from your nearest repair center. Most of the time that will be enough to fix this situation.
- E31
You will have to clear up the region to allow the system to work efficiently. If there are too many obstructions or something falls on the robot, it will get trapped, and you’ll get an E31 error.
Another reason behind this error is an obstruction beneath the robot. So, check the robot accordingly to avoid the same error code with the iLife unit.
- E321
There is no debate that the iLife robot is one of the most convenient devices to add to your existing smart home setup. However, you will still need to pay attention to the garbage levels to isolate issues with this device.
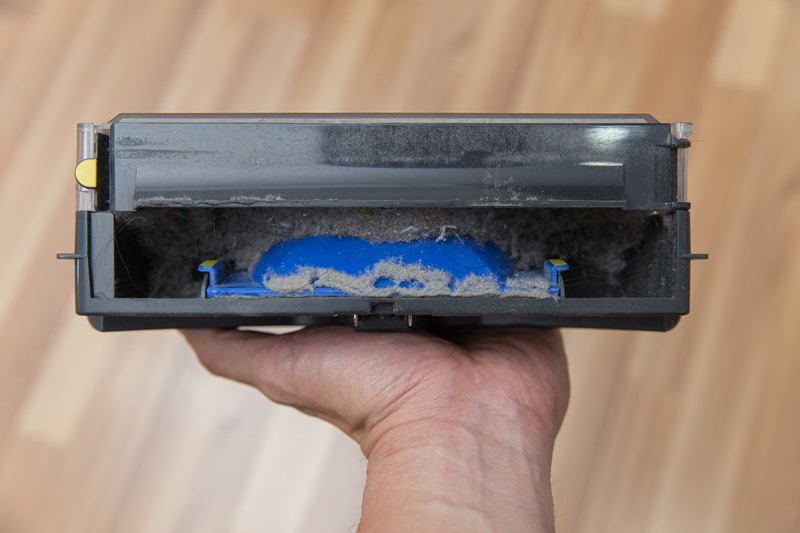
All you have to do is to empty out the garbage bin each time the device is full. Ideally, you should be cleaning the dust bin here to streamline this error code. So, just adjust this dustbin after emptying it out, and that would fix these errors.
- E33
Here you need to check the water tank. The E33 error code in the iLife unit will present water tank-related issues, and you will have to check the compartment for cracks and kinks to isolate the issue.

Most of the time, simply removing the tank and then installing it again one more time will fix the issue. However, if you’ve yet to get ahead of this problem, simply check the condition of the robot tank and order a replacement.
- E41
The E41 errors with this cleaning robot show that the battery is not working properly. You might notice frequent situations with a dead robot on your floor, and it will not charge properly. So, to isolate the problem, just check the robot and fix it accordingly.
On the other hand, you will have to factory reset the device and check the placement of the battery if the robot is new. The issue might just be with the replacement of the robot, and a quick adjustment should get everything working perfectly.
- E43
Lastly, this error will point towards view obstructions on the front of the robot. This is one of the most common errors, as the front view will get clogged up quickly. So, if you’ve yet to isolate the issue, just clean up the front of the cleaning robot and check for cracks.
To Conclude
Overall, these were some of the more common errors. Almost all of these problems can be avoided by frequent maintenance of the system, and you should clean the robot once every week. Similarly, the dustbin should be cleared up after every cleaning cycle.
You won’t only notice better performance from the robot by following the daily cleaning cycle, but it will further enjoy a longer life span from the unit.
