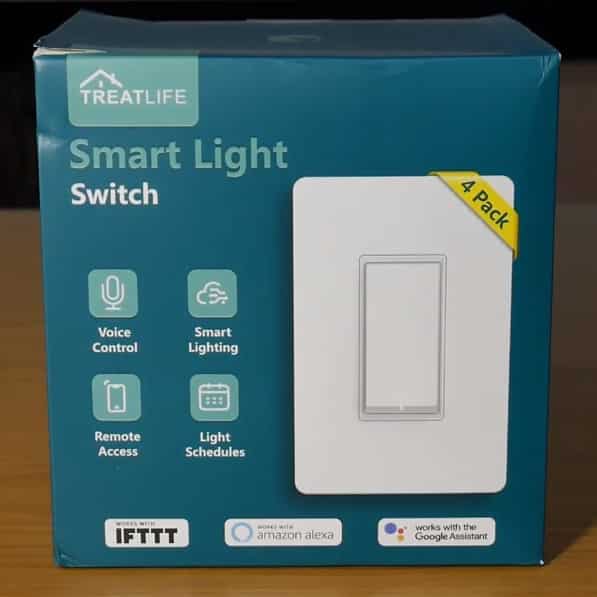
Treatlife is an application to a Smart home that acts as fan control, light dimmer switch. Apart from being able to remotely control your lights, and fan speeds, Treatlife is fully compatible with virtual voice assistants. You can either use Amazon’s Alexa, or Google voice assistant to be able to control your lights and fan through your voice.
Using Treatlife, you are able to create scenes with your desired brightness for dinner or lunch. The best part is that Treatlife will remember all your favorite settings even after a power interruption.
Hooking Up Treatlife With Smart Switch
Plenty of Treatlife users have no idea how they can hook their device with a Smart switch. It’s quite a simple procedure. If you’re also one of these guys and are wondering the same thing, then there’s nothing to worry about. Hooking up Treatlife with a smart switch will require you to install a smart switch with your Treatlife.
The procedure of installation is not that hard. We have made sure to create a step by step, easy to follow guide that should tell you how you can do it yourself. All the steps are mentioned right below:
How To Install Smart Switch On Treatlife?
Before we move on to the guide, here’s a quick peek at the things you will need:
- Phillips Head Screw Driver
- Smart Light Switch
- Flathead screwdriver
- Wire connectors
- Wire cutters
- Flashlight
- Electrical tape
Now, here’s how you can install the smart switch:
- Find out where you want to install the smart switch and learn about your wiring setup. Ensure the power’s off at the breaker when you are messing around with wires. Also, you will have to learn the type of smart switch you can use. To determine which switch you need. A wall panel having one switch refers to a single gang. Likewise, two switches will require you a two-gang smart switch, and so on.
- The next step is to select a smart light switch after you have learned about the kind of switch you need and your wiring setup.
- Start by removing your old light switch. Make sure the power is off at the breaker. You might need to disconnect every wire one by one, to help you remember the labels of the wire.
- Connect the new smart light switch. You will need to connect the in wire to the in wire, the out wire to the out wire, ground wire to ground, and neutral to neutral.
- Now, we recommend checking the power by turning the switch on. If it works, move on to the next step, and if it does not, re-check all the connections.
- Secure the switch in place. Turn the power off, and place wire connections into the wall box. We suggest placing the wires neatly to avoid creating a fire hazard. Once the wires are fit in, screw the switch into place.
- The final steps are to set up the app and connect the smart light switch to Wi-Fi. Install the light switch app. Once the switch is connected to the app, name the switch, and connect it to your voice assistant.
Related Videos: