Dimmer switches are one of the many great inventions which we have seen being integrated into smart home technology.
For those of you who are unaware of what a dimmer switch is, it is basically a device through which users are allowed to be able to control the brightness of their light.
There are many decent brands on the market that offer exceptional performance. However, you need to stick with these brands and don’t stray away from Lutron or TreatLife.
Otherwise, you will run into a ton of problems with the device.
Going cheap is never a good option when it comes to electronics. You should prioritize the quality over the price tag. That way, you won’t have to worry about frying your electronics while using these switches.
How to Fix Dimmer Switch Turns On But Doesn’t Dim?
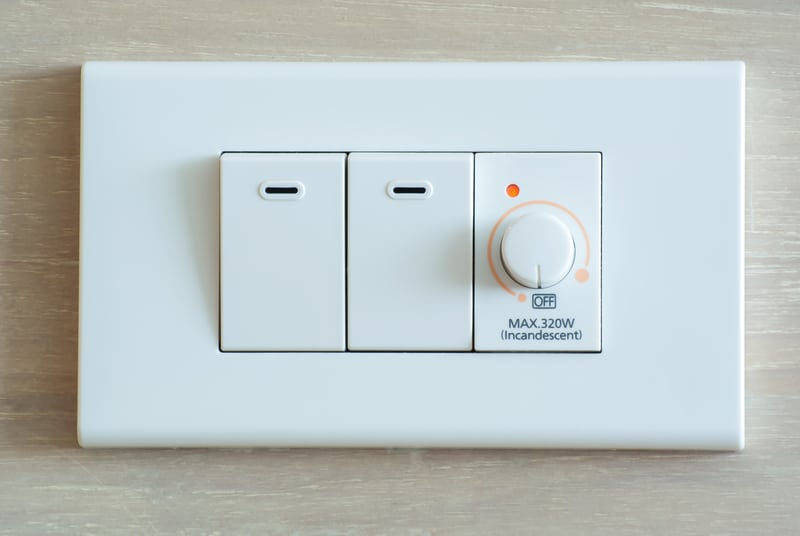
A dimmer switch looks just like a normal switch that you may have in your house. In order to get it to work, all the user has to do is turn on the switch.
Unfortunately, a number of users have reported that their Dimmer switch turns on but doesn’t dim properly.

This is why today, we will be giving you a list of ways to fix this problem. So, without wasting any time, let’s take a look!
- Ensure that You Have Installed It Correctly
If you notice your dimmer does not work like it’s supposed to, one of the first things we recommend that you check is whether you have installed the dimmer correctly.
For instance, it could be that your dimmer is not really connected to your lights.
Because of this, you are able to turn on your dimmer, but it isn’t dimming your lights.
To fix this, you will have to go through the installation procedure again. Ensure that you install the dimmers correctly, after which your lights should start dimming through the dimmer switch.
- Bulb Isn’t Compatible
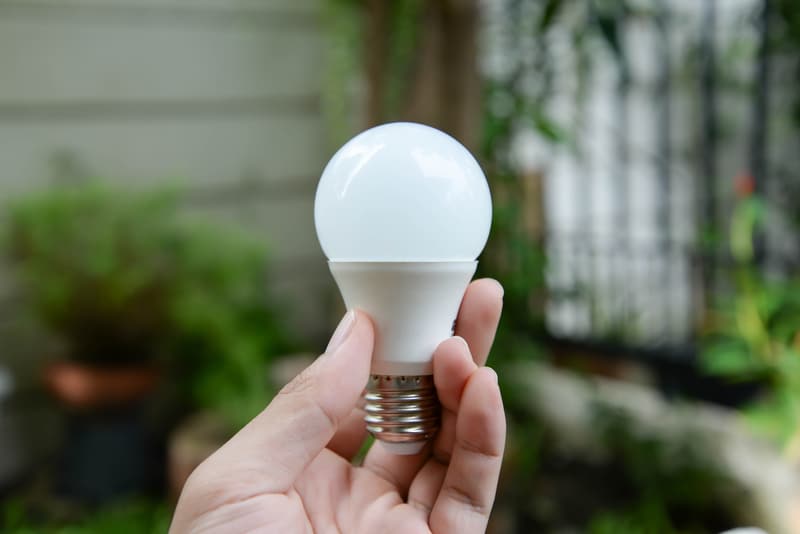
It is also possible that the reason why your bulb isn’t dimming could be due to the fact that your bulb simply does not support the feature at all.
In order for you to be able to successfully dim your lights, you will have to make sure that your bulb does support the dimming feature.
Ordinary light bulbs don’t usually come with the feature, whereas most smart bulbs do support the use of dimmers.
What you have to do is to determine whether your bulb supports it or not. If it does not, then you will have to get one that does.
- Check Dimmer For Hardware Damage
Any cracks or broken pieces will show that your dimmer is damaged. You won’t be able to make use of a cracked dimmer and will have to call the dealer for a replacement.
Luckily, the warranty policy brought forward by most brands is pretty decent. You won’t have to go through much hassle.
Here, you just have to reinstall the dimmer from scratch. Issues with the wiring, voltage and configurations are far too common.
This is especially true if you’ve yet to install the new unit yourself. So, you just have to focus on fixing the wiring configurations and then install the dimmer from scratch.
Ideally, the issue will be fixed as soon as you fix the installation. However, you will have to make sure that you follow every step according to the installation in the owner’s manual.
From there, it will be much easier for you to isolate and address installation problems.
- Check For Voltage Issues
At this point, the issue might just be the voltage supply from the source. If the voltage supply is not optimal, you can’t expect any response from the dimmer.
So, make use of a voltmeter or a multimeter to narrow down the issue.
If you find the voltage supply to be insufficient, your best bet is to seek help from a local technician.
There is no point in trying to fix the electrical connections yourself. You might end up damaging the device or electrocuting yourself.
So, to stay on the safer end, your best bet is to hire an electrician. He will be a bit heavy on your budget, but you can’t put a price on your security.
Moreover, you will enjoy better and long-term performance from the smart unit.
It all comes down to fixing the voltage supply to the light and then using the dimmer. Hopefully, that will be it when you’re dealing with minor problems related to the lights not dimming.
- The Wiring Might Be Defective
If the issue is not fixed at this point, the problem might be with the wiring and not your dimmer.
If you’re not using fresh wires for the system and the electrical connections are not maintained, then it is a good idea to replace the wires. It won’t cost you much, and the problem will likely be addressed.
All you have to do is to terminate the main power connections and then remove the frayed or damaged wires.
From there, you can install fresh replacements and then streamline the power connections. Ideally, that will be it when you’re dealing with defective wiring.
- Hire A Local Contractor
Sometimes, the best thing that you can do is to hire a local contractor. This is especially true if you can’t find the main cause behind the error.
Seeking help from an expert will save you hours of hassle. From there, you can just explain your situation, and he will take care of the rest.
He will not only help you address the dimming errors, but you will also enjoy a better lighting system with the help of this expert.
It all comes down to the budget you’re willing to spend. So, try to spend some cash and reach out to the local contractors.
These professionals have decades of experience with smart lighting solutions.
They will make sure that you never have to worry about any errors. So, keep that in mind if you’re struggling with the lights, not dimming with the dimmer.
- Faulty Dimmer
Another reason leading up to this issue could be that your dimmer is faulty. We have seen plenty of cases where users end up frying their dimmer, which results in them facing issues with the dimmer.
We strongly recommend that you check you’re dimmer. The same could be the case for you.
You can check your dimmer by using it in a different place with a different smart bulb that supports dimming. Alternatively, you can try installing another dimmer at the same spot to see if it works or not.
- Could Be Time to Replace Your Dimmer
Most users don’t know this, but dimmers tend to run on a rheostat which may wear out after an extended amount of use.
Whenever that happens, you will notice certain effects start appearing, which also include you not being able to dim your lights.

In these cases, the only viable solution is to replace your dimmer with a newer one.
Just like many other smart accessories, dimmers don’t really have that much durability, and they may need to be replaced after a while.
- Ensure You Are Using Correct Dimmer
One thing we highly suggest you check is the means through which you are controlling your lights. If there is only a single switch responsible for controlling the light, then you will need a single-pole dimmer.
On the other hand, if you are controlling your lights through two or more locations, then you will have to make use of a 3-way dimmer.
The Bottom Line:
Are you experiencing an issue where your dimmer switch turns on but doesn’t dim? If so, then all you need to do is to follow the instructions that we have given in this article.
Doing so should result in a quick and easy fix to the issue.
However, we would recommend that you reach out to a local expert that can help you isolate the issue.
It is never a good idea to spend hours of your time dealing with electrical connections. So, there is no harm in reaching out to a professional who maintains years of experience.
Seeking professional support will not only save you from electrocuting yourself, but you will also be able to fix the device quickly.
The only downside is that you will have to spend some money on hiring these experts. Other than that, the problem will be fixed pretty easily.
So, set aside some money, and hire an expert to help you through the issue. Hopefully, you won’t have to deal with dimming problems ever again.


