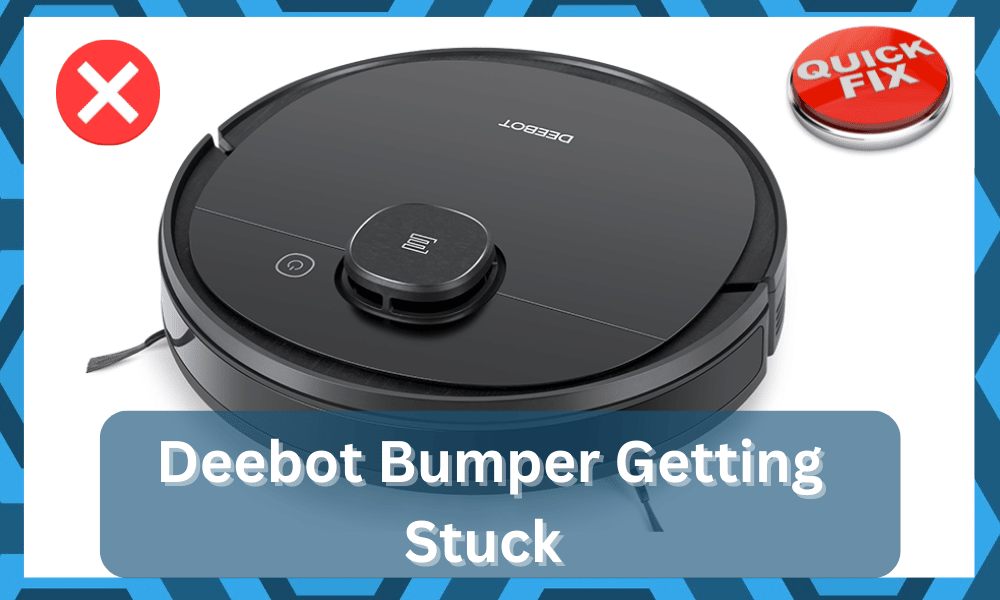
With the integration of smart automation, Deebot brings plenty of comfort and convenience to your house.
As the main purpose of these devices is to help clean your house for you, these are great in particular as they present a way of doing things on their own without needing any effort on your end.
The only thing that is required from your side is to keep track of the unit maintenance.
From there, you won’t only notice better cleaning performance, but the lifespan of the device will also improve.
So, keep that in mind and go through the manual if you’re not exactly sure about the Deebot maintenance.
How To Fix Deebot Bumper Stuck?
Ignoring these maintenance requirements for a day or two is not that serious, but you can’t afford to ignore them for too long.
Missing maintenance for a week consistently will only cause issues like poor cleaning performance and limited battery timing, along with other errors.
Unfortunately, we have received from a number of users about their Deebot bumper getting stuck.
So, if you are someone who is facing a similar issue, then this article is for you!
Using this article, we will be giving you some of the best solutions for the issue right down below:
Physically inspect the Bumper
The first thing that you will need to do if you notice your device suddenly starts acting up is you should inspect the bumper.
There’s a good chance that the bumper might have received a few scratches or might have gotten damaged.
If that is the case, then the app might be detecting the robot has hit a wall. You can try giving the bumper a gentle rub and trying to clean it.
If you do notice anything, then make sure that you apply repairs accordingly.
All your focus should be on limiting the scratched or frayed sections from the bumper.
Some owners have pointed out that using a diluted vinegar solution on this unit will fix these errors. So, keep that in mind and try cleaning the robot with this solution.
Pull Out the Bumper
At times, the front part of your robot may get stuck even when there isn’t a physical wall on the front.
In cases like these, your robot may start only moving in a backward direction, which can be quite annoying and troublesome.
However, you should be able to get this issue fixed by making sure that you pull out the front bumper of your robot by a quarter inch.
As soon as you do, your Deebot will be able to start working normally again.
Here, you should focus on slightly adjusting the placement of the bumper. If the unit does start to work after this fix, you need to check the operating conditions again.
The floor might be too rough, or there was something wrong with the mapping.
Either way, you need to make sure that the robot doesn’t bump into too many obstructions.
Otherwise, you’ll be running into the same errors with the unit. So, keep that in mind and get help from a repair center if you can’t seem to narrow down these errors.
No Harm In Servicing The Unit
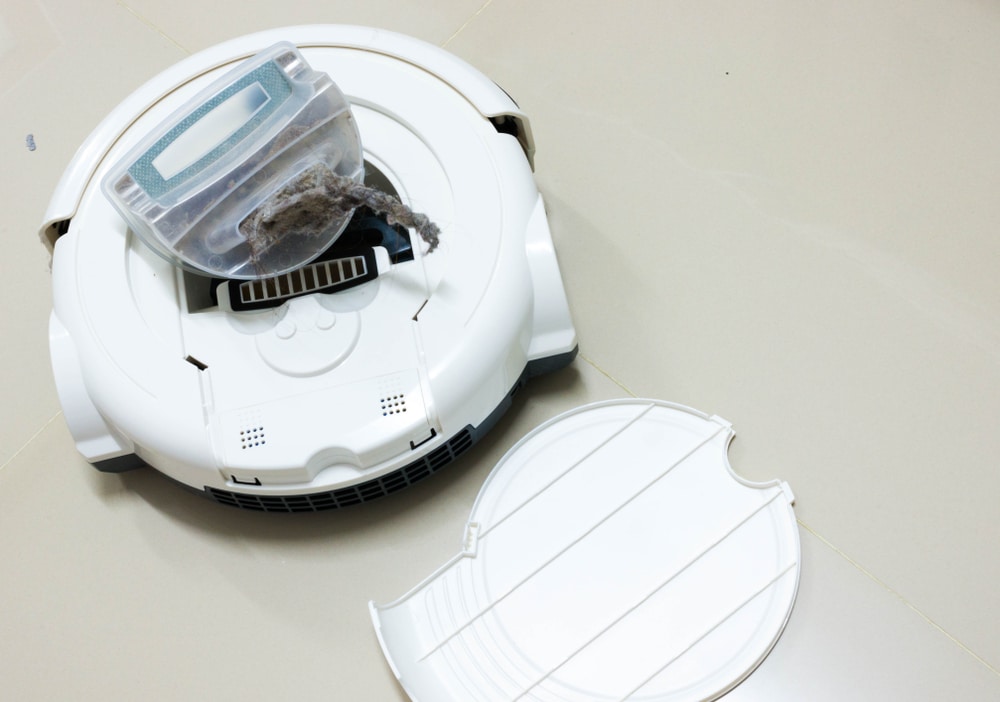
You’ll run into these errors if you ignore the care requirements for a bit too long. If you’re in the same boat and haven’t cleaned the unit in a while, now might be a good time to do so.
Here, you need to check the sensors, the bumper, and the base of the unit.
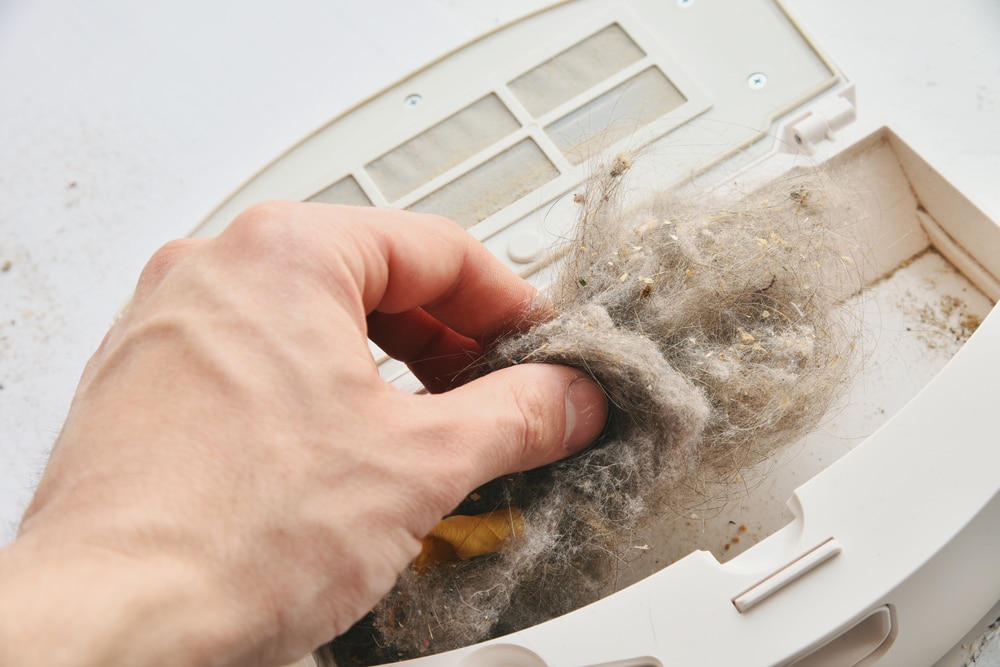
Get rid of all the pet hair and gunk left behind the bumper. The situation can be too rough when you have not cleaned the unit for a while.
So, it all comes to managing this situation and then readjusting the response from the smart system.
If you’re not sure about how to go about the maintenance, there are many great guides available on the internet.
It won’t cost you a penny to make use of these guides, and you can follow these detailed instructions to get through the maintenance.
From there, keeping your robot clean will be much easier, and five minutes out of your daily routine will do the trick.
Similarly, seeking official support or referring to the manual will also help you get to the same outcome with the Deebot maintenance.
Once the robot is clean, you’ll be able to get a consistent response from the unit. So, keep that in mind and then go with the maintenance routine to address this situation.
Contacting Customer Support
If you are still facing the issue, then you may be facing a more technical issue.
However, as this issue is quite common and many users have faced it in the past, the support team should have a good idea of how this issue can be fixed.
This is why we strongly recommend that you get in touch with the support team.
Ensure that you mention the issue that you are facing in detail and mention everything that you have done so far.
Likewise, they should provide further solutions that should be able to get your issue resolved and fixed in no time.
As long as there are no hardware issues with the unit, it won’t be too hard to fix the device.
However, if you’re not too sure about the usage and the problem is pretty serious, then you need to get it fixed.
You can either take this unit to a local repair center or claim a warranty through the dealer. The warranty is usually valid for one year, and that can vary depending on the model.
So, inquire more about the warranty and then forward a claim. That should be it when you need the new device.
Getting the Device Checked
In case contacting the support team did not help, then you can try getting the device checked.
At this point, it is possible that you might be dealing with some sort of damaged component. Though if that really is so, then there may be nothing that you can do on your end.

Instead, you are much better off if you attempt to get your devices repaired by getting them checked by a professional.
You can take the robot to any local repair shop and ask them to thoroughly inspect the device for any sort of issue.
Getting it Replaced
Even though the chances of this happening are quite low, there’s still a possibility that your device may be beyond repair.
If that is the case, then there really is nothing that you can do about it. If the device is still under warranty, we strongly recommend that you try reclaiming the warranty.
However, if that option isn’t available, then the only way to move forward would be to get your whole device replaced.
Unfortunately, this is bound to cost you quite a few bucks as well. So, make sure that you keep this as a last resort option.
The main reason behind this error is ignored maintenance. However, it is also possible that you got a damaged unit out of the box.
The delivery process is never easy on smart devices. Even when you’re dealing with phenomenal delivery service providers, these minor issues are still common.
You’re not liable for any of these issues, and you will have to grab a replacement. There is simply no need to bother with the unit yourself, and a quick claim will set everything in order from there.
You can engage the customer care team here as well.
The Bottom Line:

Annoyed with constantly getting the Deebot bumper stuck error? Most of the time, your bumper can get stuck even if there isn’t a physical wall in front of it.
Whenever that happens, you should start by wiping off the bumper and giving it a slight push, which should automatically put the robot into its normal working state again.
If not, then you should take this to the support team.
It will take a few moments for the warranty claim to go through. If everything is in perfect condition, you should have the new unit within the same week.
However, if there are issues with the warranty, you will have to spend money on a new unit. There are no quick methods that can help you here.
Just make sure to keep track of the maintenance of the new Deebot. This includes cleaning out the bin and then removing air and debris from the bottom.
Moreover, if the floor is rough, it is also better to try a different robot.
The Deebot units are not meant to be used on rougher surfaces, and you need to provide this cleaning robot with a smooth hardwood floor.
Otherwise, you’ll keep running into these errors until you purchase a new unit. So, keep that in mind if you can’t seem to find the right fit.






Hi,
Bumper error got solved by cleaning with the vinegar solution, thanks for sharing that advice.
Kind regards
Marijn