With the evolution of technology, the idea of having a smart home is rising. It wouldn’t be wrong to say that everyone dreams of having smart homes.
When we are talking about smart homes, it’s impossible not to talk about Caseta since they are famous for smart controls, light switches, and dimmers.
The users who actually use Caseta often ask if they can install multiple Caseta dimmers together. So, we are sharing if it’s possible and how you can connect the dimmers together!
Can You Install Multiple Caseta Dimmers Together?
Is It Possible?
When multiple device integration and connection is concerned, it’s important to talk about the multi-home control feature. With this feature, the users can install Caseta products in two or more locations and control them with one app or the same account. It is widely confused with multiple device connections but it’s different than installing multiple dimmers together.
Secondly, the users ask if they can mix different light bulbs and use them with the same dimmer, so that’s a yes. This is because you can connect different light bulbs with one dimmer. However, we do suggest that you consult the wattage because different bulbs have distinctive wattages. For this purpose, Caseta has the maximum wattage rating chart available.
Similarly, if you are wondering about controlling lamps (more than one) with one dimmer, it is possible. The is because the plug-in dimmer is designed to control two lamps but you won’t be able to control the lamps independently.
Coming to the point, yes, you can install multiple dimmers together but you must have multiple sockets available for this purpose. In the section below, we are sharing how you can connect the dimmer, such as;
- First of all, you need to switch off the circuit breaker of your home or wherever you have to install the dimmers
- Once the circuit breaker is turned off, take off the wall plate from the switch and do remove the switch
- Pull the switch away from your wall and disconnect the wires (you will see three wires)
- In addition, you have to remove the side sections and make sure that you don’t touch the exterior side sections of the dimmers
- Then, connect the dimmer; you have to connect the green or bare copper wire from the wall to the green wire (use a wire connector)
- Then, connect either of the two wires from the wall to the dimmer (use second wire connector) and connect the last wire from the wall box to the remaining wire of the dimmer
- Once the wires are connected, you need to screw in the dimmer and connect the wall plate
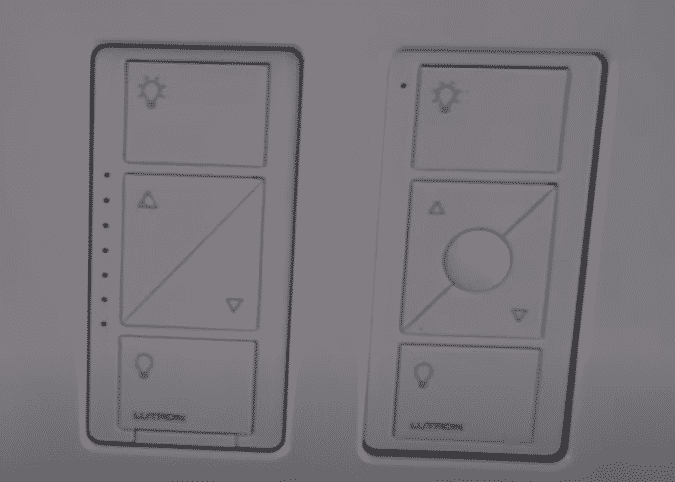
Once one dimmer is connected, you need to follow the same steps for other dimmers and you will be able to connect multiple dimmers. When you have to connect multiple Caseta dimmers together, we do suggest that you get the pico remote for easier control. Some people also use the smart bridge system for connecting up to 75 devices, inclusive of dimmers, remotes, switches, and more.