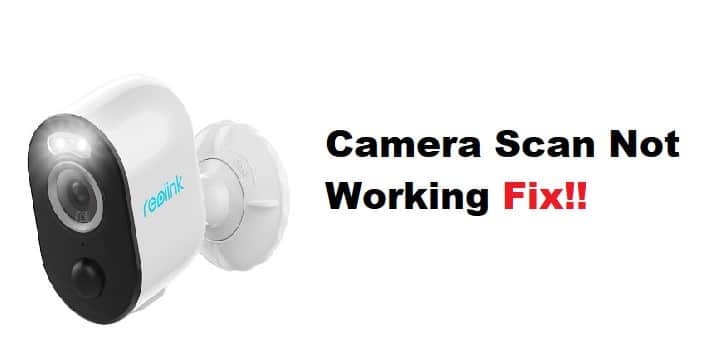
Reolink is an amazing security camera that is used for various purposes. However, like any other camera, they are subject to certain issues. Common problem users face is that the Reolink camera scanning port does not work. There can be various reasons for this problem, from technical glitches to faulty settings. Whatever the reason causing the issue may be, it is important to fix it as soon as possible.
In this article, we will troubleshoot the Reolink camera scan not working and provide a few solutions that might help you fix it.
Reolink Camera Scan Not Working Fix:
- Detect the Issue
First, let’s check if the issue is with the camera or the network. If the camera is not working, there might be a problem with the device itself. Consider resetting the camera and see if that solves the issue. If the problem persists, don’t jump to conclusions, you can contact Reolink support for further assistance.
- Fix Network Issue
Now, let’s move on to troubleshooting the network issue. First, ensure that you use a stable network and good signal strength. If the problem persists, you can try restarting your router or modem. This will help refresh the connection and might fix the issue.
- Check Forward Porting Settings
If the above steps don’t work, there might be a problem with the port forwarding settings on your router. Port forwarding gives access to external devices to connect to your camera. So, if the port forwarding is not set up correctly, then the camera scan will not work.
You need access to your router’s settings and forward the correct port to your camera’s IP address. Contact your router’s support or visit the Reolink support website for more information on how to do this. If there’s still trouble getting your Reolink camera to connect, it might be due to a port issue.
- Look for an Open Port
First, check to make sure that the port you’re using is open and working properly. You can do this by opening the Command Prompt and typing “netstat -a.” Following this command will give you a list of all the ports on your computer and their status. If the port you’re using is closed, it will say “CLOSED” next to it.
You’ll need to open the port up to use your camera if the port is closed. This can be done by entering your router’s settings and manually opening the port. Consult your router’s documentation for more information on how to do this.
- Restart Your Camera
If you’re still having trouble, try restarting your camera. Restarting the camera can sometimes fix connection issues. To restart your camera, unplug it from the power source and plug it back in again. Before reconnecting, it is advisable to wait a few seconds for the camera to boot up.
- Restart Router
Next, try restarting your router. Restarting sometimes fixes the problem and allows the camera to connect. Restarting will sometimes fix the problem, as it will reset all the ports on your router.
- Check Firewall Settings
It might be due to your firewall settings if you’re still having trouble. Check to see if the port you’re using is allowed by your firewall, and make sure that any security software you have is not blocking the connection.
- Update Firmware
Finally, if you’re still having trouble, try updating your camera’s firmware. A firmware update can often fix connectivity issues. The latest firmware for your camera can be easily accessible on the Reolink website.
We hope this article helped you troubleshoot the problem and get your camera up and running.
- Change Settings
If the issue with the camera persists, consider forwarding the port yourself. To do this, you’ll need to access your router’s settings and add a rule that allows traffic on the port you’re using.
- Contact Reolink Support
If you’ve tried all of the steps mentioned above and are still having trouble, you can contact Reolink customer support for further assistance. A representative from the customer care department will help you troubleshoot the problem and guide you on how to get your camera up and running.
We hope this article was helpful and assisted you in troubleshooting the problem and getting your camera working.