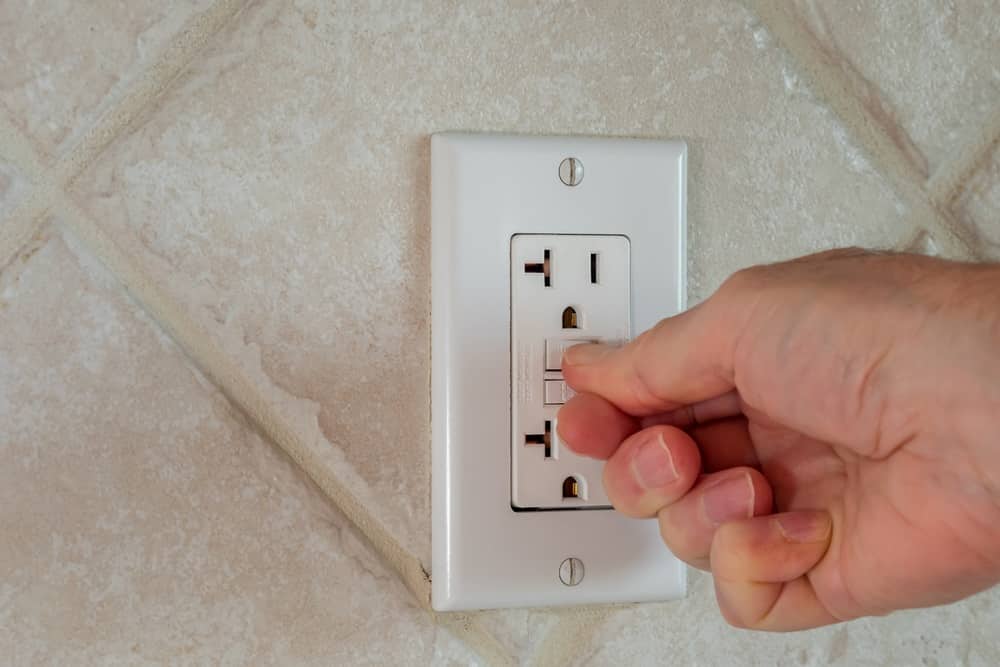
The Leviton system is not that popular in the market when you’re looking for reliability. While this brand does offer good prices, that’s about the only thing that you can expect from Leviton.
The forums are filled with complaints about the Leviton GFCI test button not working, and you will likely run into the same issues with this unit.
Luckily, you can still go through a few methods to get the Leviton GFCI system working again.
So, if you’ve already bought the GFCI unit from Leviton and the test button is not working, then here are some solutions to help you with the outlet.
Leviton GFCI Test Button Not Working: What You Should Try
- Try Using More Force
The majority of times, you will just be dealing with a corroded spring that doesn’t decompress as you put pressure on the button. This doesn’t engage the test system, and you will keep getting power from the outlet. So, you just have to use more force or a blunt object to push on the test button, and hopefully, the breaker will trip once the spring is compressed.
Make sure not to use too much force when using a blunt object, as the outlet is not that sturdy, and there is a chance that you’ll end up damaging the unit. So, lightly increase the pressure on the Leviton GFCI test button when you’re trying to use this outlet.
- Keep Holding Down On The Button
Sometimes, you will also have to keep holding down on the button for a few seconds to engage the test feature. Usually, owners quickly press and release the button without holding down on the unit. All you need to do about this issue is to hold down on the button for around 15 seconds. This should be enough to engage the test button, and the circuit breaker will engage immediately.
- Clean Outlet
If the outlet has been installed for an extended period, then dust and debris behind the button can lead to the same issue. You can use an air blower to get rid of this extra dust, and you won’t have to worry about the same issues when the outlet is clean. So, simply get rid of the dust behind the button and then engage the button for a few seconds. This should be enough to get the outlet working again.
- Check The Breaker
The main circuit breaker can also be another reason why your test button might not be working on the Leviton GFCI unit. So, if you’re still stuck in the same issue at this stage, just engage the breaker to check its functionality. Even when the outlet is in perfect shape, the breaker can create these performance issues.
For this reason, you need to either change the breaker or check the wiring conditions to isolate the problem. Hopefully, you won’t have to spend more money on a replacement, and the issue will be fixed after you replace the damaged wires from the system.
- Fix The Wiring
The wiring orientation on the Leviton GFCI switch is the next thing that you need to consider when the issue is not related to the breaker. Even if you’re sure that the wires are not damaged, their connection behind the outlet can be problematic. So, you need to go over the wiring diagram one more time and try to rewire the outlet.
This should be enough to get the outlet working again, and you will be able to get the desired performance from the outlet. So, check the wiring connections after inspecting the integrity of the circuit breaker installed in your household.
- Call An Expert
Lastly, you should also try to reach out to an expert if you’re not that experienced with wiring connections. The expert will not only help you with the wiring connection, but you will also be able to get a better perspective on the installation of the outlet. So, make sure to call an expert if you’re clueless about why the test button on the Leviton GFCI is not working.
If the LED indicator on the GFCI Leviton is working perfectly, then you are likely dealing with wiring issues or a damaged spring. So, make sure to clean out the outlet before contacting the technician.