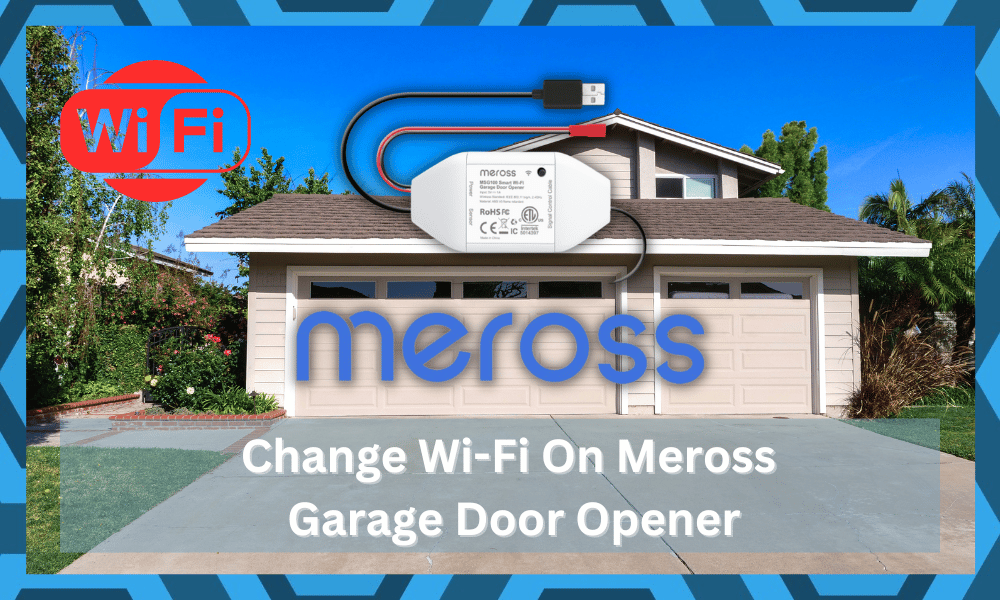
The price tag and the performance consistency of Meross Garage Door Openers have helped this brand maintain a solid spot in the market.
This brand is pretty decent when it comes to durability and installation routine without seeking help from an expert.
Even though the features on this option are not as extensive as some of the more premium brands like Liftmaster, you will have to pay significantly less money for this option.
Furthermore, these units are pretty easy to set up in your home.
So, if you’re planning on looking for a high-value unit, then going with Meross is not a bad idea.
This unit will easily serve you for decades, and you can get years of consistent performance. Just make sure to follow the installation instructions correctly, and that will be it.
The only time you’ll face an issue with this unit is when you change the router. So, if you are not sure about how to change the Wi-Fi on Meross Garage Door Opener, the following details will help.
How Do I Change The Wi-Fi On My Meross Garage Door Opener?
Ideally, you won’t have to worry about changing the Wi-Fi as long as you’re using the same credentials for the new network.
However, if the network credentials on the new router are different, then follow these steps to change the Wi-Fi on your Garage Door opener.
- The first thing you need to do is to put the Meross Garage Door Opener in the Wi-Fi configuration mode by pressing the side button.
- Holding down the button for a few seconds will put the unit back in configuration mode, and the LED indicator on your Meross garage door opener will start blinking.
- Once the unit has reset and the LED indicator is blinking rapidly, you can launch the Meross application to link the unit with the new Wi-Fi. So, log into the Meross Application and add a new device to the app.
- Make sure that the new router is within the range of the Meross Garage door opener, and then use the new credentials to pair the Meross Garage Door Opener with the router.
- After the Meross Garage Door opener connects to the router, the LED indicator on the unit will stop flashing, and you will be able to access the smart features through the application.
- Lastly, you just have to set up the configurations and recheck calibrations through the Meross application, and you will be done. Now, you can use the new network to access the garage door, and as long as the signal strength is good, you won’t have to worry about anything.
All in all, the Wi-Fi on your Meross Garage Door Opener can be changed after resetting the unit and then adding the device through the Meross smart application.
You can’t rely on any direct steps to unlink a device from the current router and change the network to a new router.
So, just reset the Meross garage door opener once and go through the Wi-Fi configurations from scratch.
Similarly, you can avoid all of these issues by changing the SSID username and password of your new router to match the credentials of your current network.
That way, you won’t have to reset the Meross garage door opener, and the unit will automatically connect to the new router because of the same credentials.
So, if you wish to save time, just change the credentials of your new router to match the current network.
From there, you can go through the programming routine one more time. Your main focus here is to follow through carefully with each step mentioned in the manual.
That way, you won’t have to worry about any installation routine. Here are some pointers to keep in mind while programming the device:
- Find the learn button on the unit
- Press this button once
- Check the response from the LED indicator
- Wait for 40 seconds
- Engage the button you wish to program
- LED indicator will start blinking
- Release This Button & You’ll have complete control of the unit
This can also be done from the application, and your main focus with the unit should be on limiting network errors.
There is no point in relying on a smart device when you don’t have a stable network connection in your house. So, think of an upgrade or find an extension for the router.
The majority of routers are only good for ranges within the 25 ft range. However, if the garage is out of this range, you can’t control the door with the application only.
You will have to move the route closer to the smart device and then recheck the signal strength.
There are a few more things that you need to keep in mind here. These things include interference from thick walls, the presence of wireless devices, the problem with proxy configurations, and the channel bandwidth.
So, keep that in mind and limit these errors if you wish to use the smart device.
However, if you can’t get the unit set up even after going through these details, then we believe that you have a defective unit.
You can’t really make use of a defective unit, and going with a replacement is the only move.
Luckily, getting a replacement is pretty easy. You will be able to grab a new unit by providing proof of payment.
It can take a few days for the dealer to verify the claim, but you’ll surely be able to get the new device within the same week. From there, you can follow the situation routinely.
Hopefully, you won’t ever have to bother with changing the Wi-Fi on the new unit, and everything will work out smoothly.
To further eliminate any chances of these errors, try hiring a local contractor. He will make sure that there are no installation errors, and you’ll get the ideal performance.
Wrapping Up
Going through a quick reset is the best method of pairing up the Meross unit with a new Wi-Fi router.
However, some users also rely on changing the credentials of the new router to match the credentials of the current unit. From there, the SSID can also be manipulated to project the same presence.
That way, you can turn off the old unit and then rely on the new router only to connect with the Meross unit.
Sadly, there are no direct methods where you can rely on the application to connect the unit. So, keep that in mind and proceed with the reset.
Just make sure to set up the unit from scratch after the reset is complete. Hopefully, it will only take a second to get through the setup, and you’ll enjoy years of consistent performance from this point onwards.
However, if you’re not that lucky and there are Wi-Fi-related errors, then you need to reduce the range between the smart device and the router.
Furthermore, you need to remove the 5.0 GHz channel and remove extra wireless devices. That will have a positive impact on the signal strength.
On the other hand, if you find the device to be defective, then your hands are tied.
There is nothing that can be done about a broken unit, and you can only take this device to an expert. If you’re not sitting on a warranty, then going to a local repair center will do the trick.
Similarly, if it has not been more than a year, then going with the warranty claim is not a bad idea. It all comes down to the current condition of the device. So, check the unit for cracks or damage, and then reach out to the dealer.
He will inform you on how to go about the warranty claiming procedure. Once the verification is completed, you will be able to get the new unit within three to five business days.


