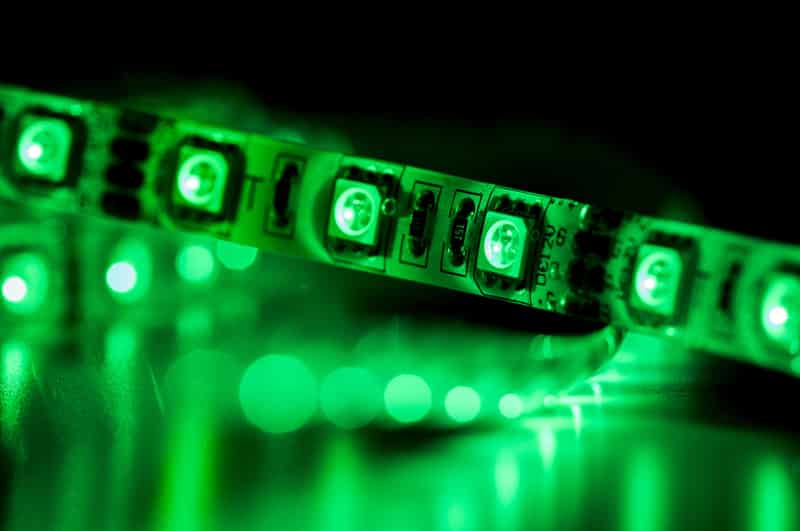
One of the best ways through which you can decorate your house is by using LED strips. These LED strips are mainly used in order to illuminate your house in a unique way. Furthermore, they can be used with audio systems for an enhanced experience.
When installing LED strips, it is common to mess up the strips. At times like these, LED strips need to be removed and stuck again. That being said, we have seen a lot of users ask how to remove LED strips and reuse them. This is why today; we will be focusing on giving instructions on how you can do this.
How To Remove LED Strip Lights From Wall And Reuse?
While the reason you might want to remove LED strips from the wall can vary, here is a quick guide on what things you will need to do in order to remove them from your wall:
- First things first, you will have to make sure that you disconnect the LED strips from any source of power. Ensure there is no electricity during the process as it can cause damage.
- Now, you will have to do something about the adhesive that is responsible for sticking the strips to your wall. Ideally, you would want to use heat which should soften the layer of adhesive. You can make use of an air dryer or any other device that can provide sufficient heat to the wall. However, be sure to not provide the wall with too much heat. Also, you shouldn’t heat the wall for any more than 2 minutes.
- Make use of a thin item, such as a credit card or a butter knife and start with the edge or corner under your LED strip.
- Similarly, try twisting the flat part which should help in softly separating your strip which is attached to the wall.
- While you are twisting, you will have to make use of the other hand and slowly attempt to remove the LED strip.
- You will have to keep twisting until you have fully removed the strip.
- In case you do notice any kind of adhesive residue on your wall after removing the strip, ensure that you softly rub it off using your thumb.
- If the adhesive does not go away, you might have to use a WD-40 on a rag and try rubbing it on the wall.
It is also worth mentioning that if you have used a very strong adhesive on the LED strips, chances are that you might end up damaging your walls in the process. This is why it is always recommended to use the adhesive that comes with the LED strips.
Re-sticking the LED Strips:
In order to stick the LED strips to your wall again, follow these instructions:
- Start with identifying the place where you want to install your LED strips.
- Once you have the spot, we recommend cleaning the surface using rubbing alcohol.
- Decide the material that you will be using to stick the LED strips. Some common examples are a staple gun and adhesive.
- Place your LED strips to the place where you want them installed.
- If you decided to use adhesive, ensure that you use a good quality adhesive that isn’t too hard, as it might cause damage to the wall if you were to remove the strips.
Once you have re-sticked your LED strips, we recommend that you test whether they are completely working. It is quite common to have your LED strips damaged during the removal and installation process, which is why you should thoroughly inspect the strips.
The Bottom Line:
How to remove LED strip lights from the wall and reuse them? While removing LED strips from the wall shouldn’t be that hard, you can still end up causing damage to your wall if you aren’t careful enough. It is crucial that you be careful throughout the whole process and ensure that you follow the instructions that we have written above!
Also, when you are about to re-stick the LED strips, do keep in mind to use a material that can be easily removed for sticking.