While you can use the majority of Hive devices without owning the Hub, it is impossible to enjoy a phenomenal level of productivity and performance without a hub.
You will get far more out of your devices when there is a hub involved to centralize the control.
So, it is always better to set aside the budget for the Hive hub when you’re trying to integrate the smart system and optimize overall performance.
It will be a bit pricey, but you’ll enjoy a variety of benefits after the setup is complete.

However, as long as you’re able to get through the basic setup, getting amazing performance out of the system is not that hard.
It only takes a bit of effort on your end to get through the installation, and you have the option of hiring an expert to help with the installation of the smart hub.
With that said, some users mention difficulties with the Hive Hub not connecting.
If you’re in a similar situation and the Hive Hub won’t respond, then the solutions discussed here should help you through the process.
Hive Hub Not Connecting
1. Power Cycle Hub
If you’re running into connectivity issues with the Hive hub, then the best thing you can do is power cycle the unit.
It will only take a few minutes, and there is a good chance that your issue will be fixed.
So, if you’re sure that the router is working perfectly and there are no hardware issues with the hub, then a simple power cycle should do the trick.
All you need to do is remove the power connections for around 30 seconds and then turn on the Hive hub again.
After that, you can use the cable to connect it to the router, and it should start working.
Make sure to engage customer support, and the professionals from the support team will help you save a lot of headaches in the troubleshooting process.
2. Check Cable
Issues with the ethernet cable can also lead to connection problems with the Hive hub.
Even when the hub is working perfectly, you will struggle to get the desired performance because of a damaged cable.
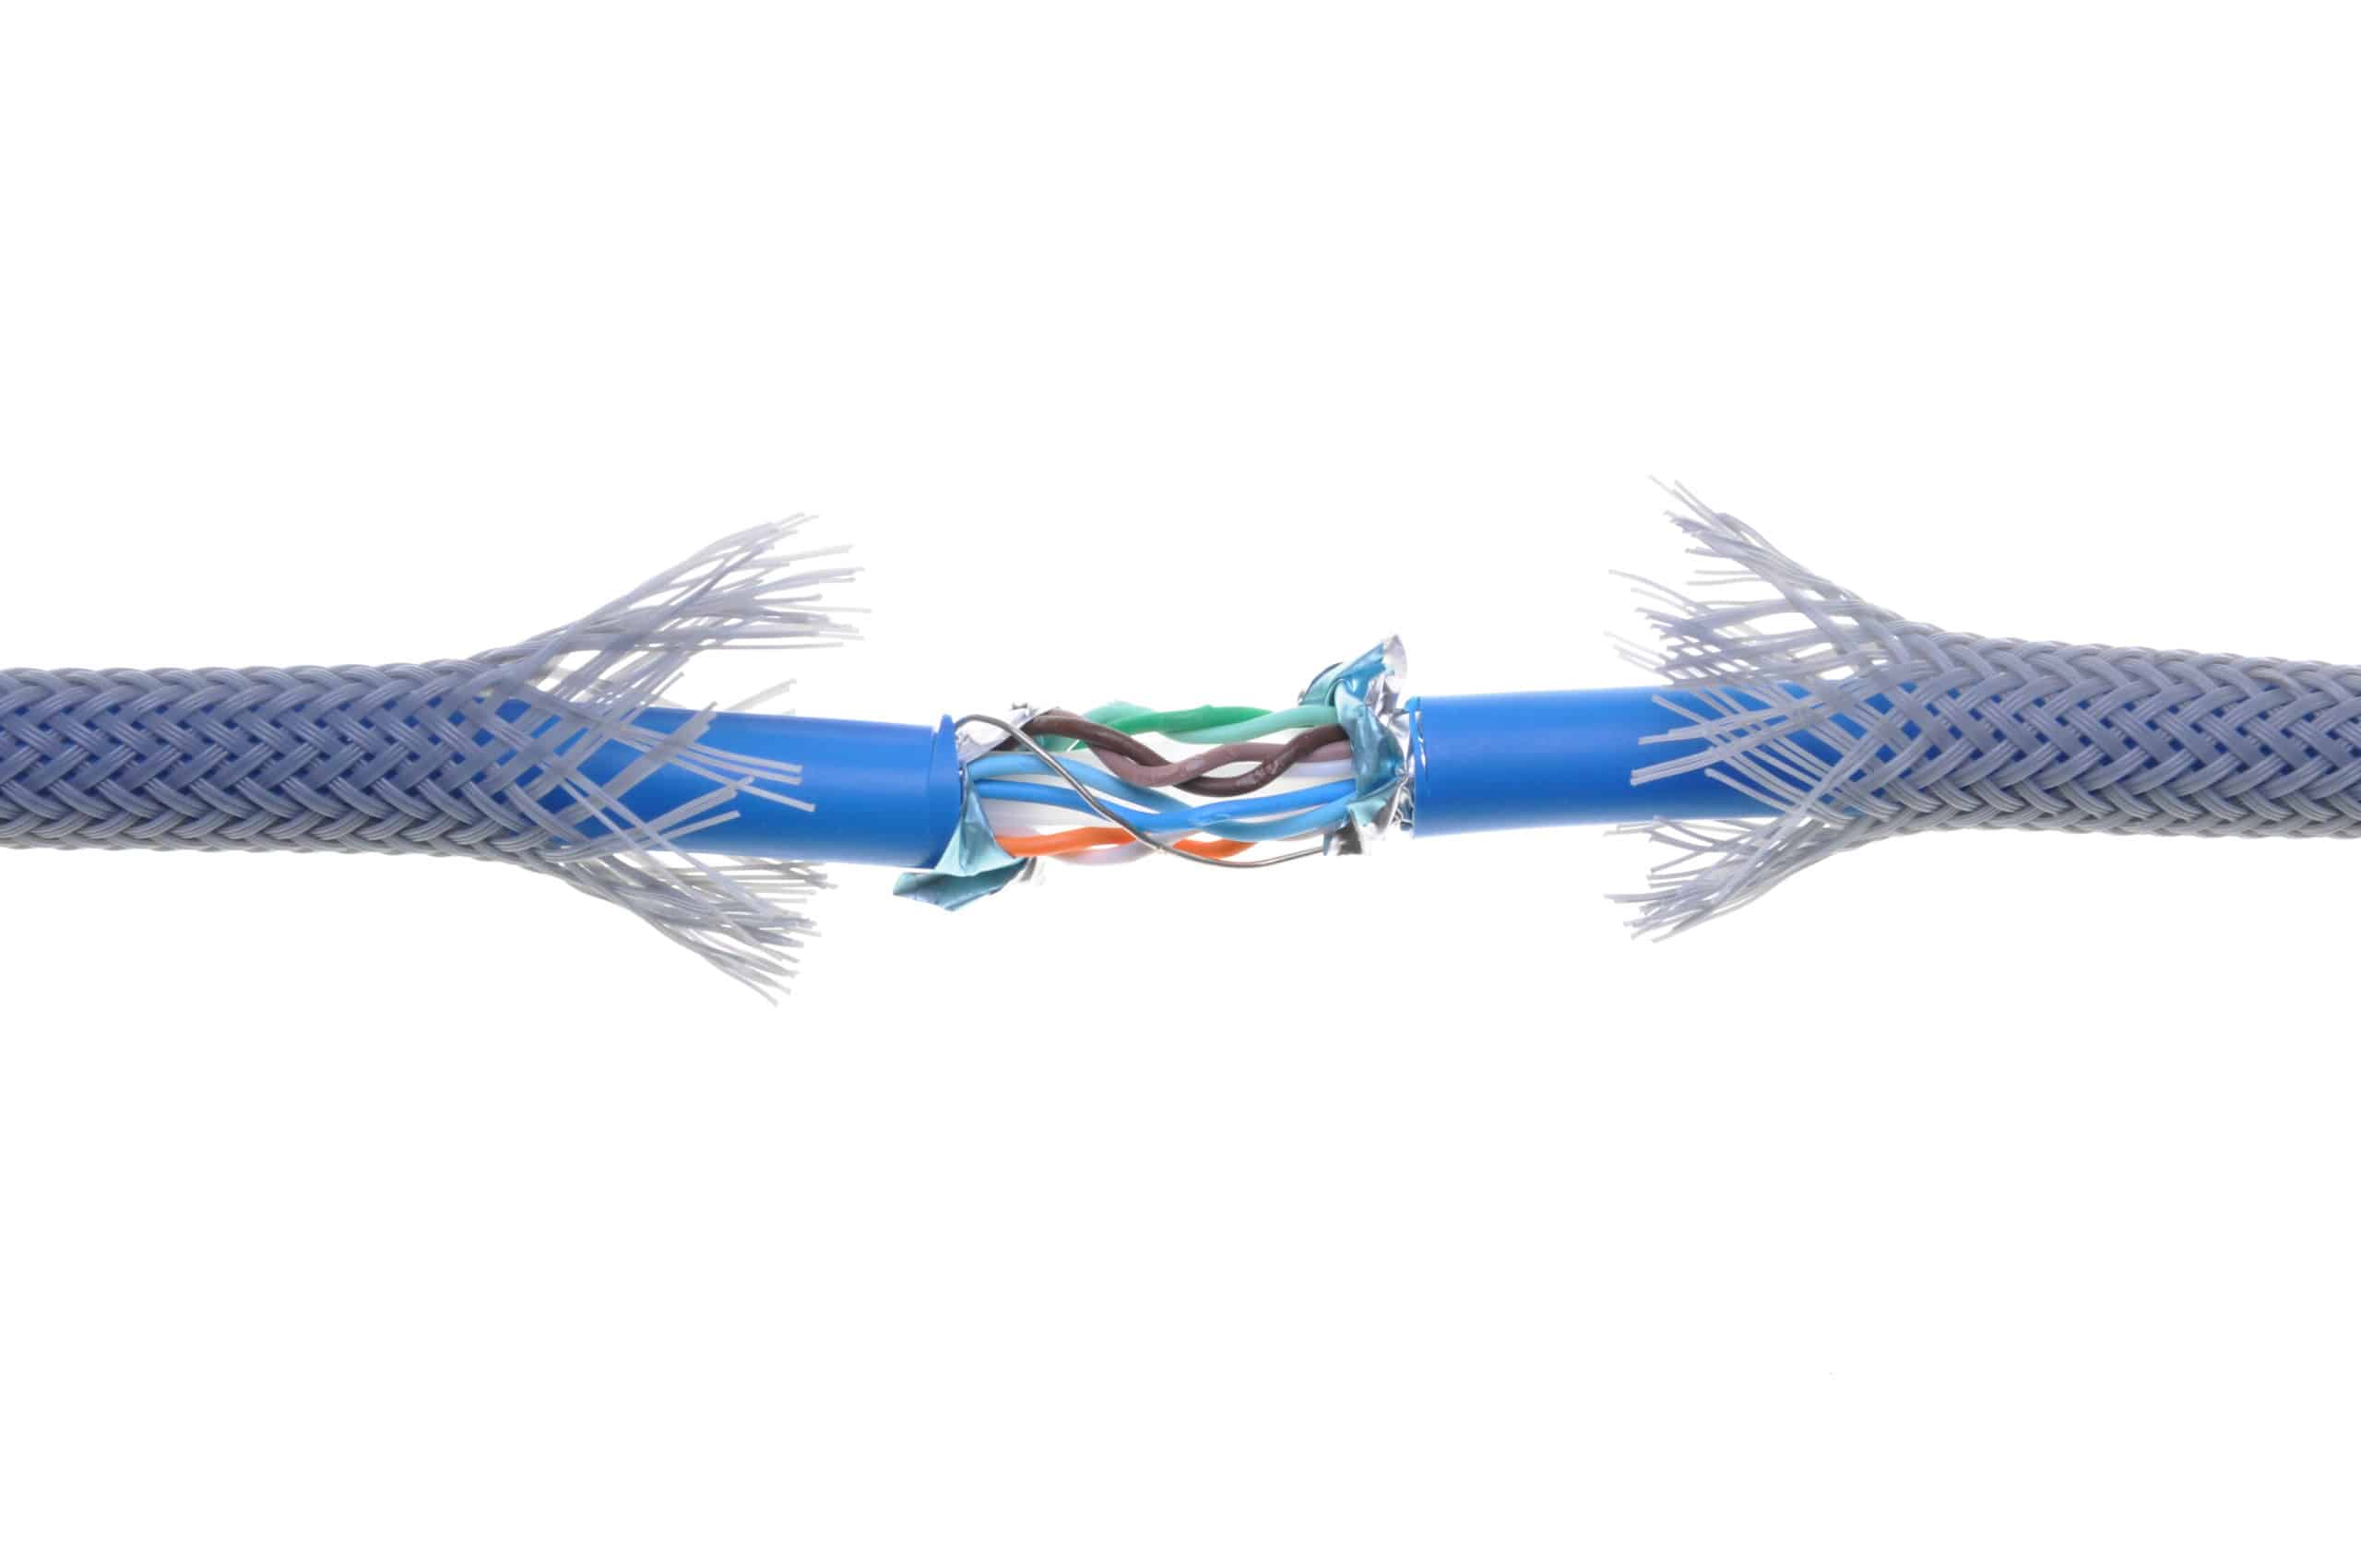
So, you should inspect the ethernet cable between the router and the Hive hub. Make sure to thoroughly check for frayed sections and kinked regions in the cable.
If the cable is damaged, then the only thing you can do is buy a cable replacement for your hub.
Luckily, it is not that expensive, and the issue with the connection between the router and hub will be removed once you install the new cable.
3. Check Ports
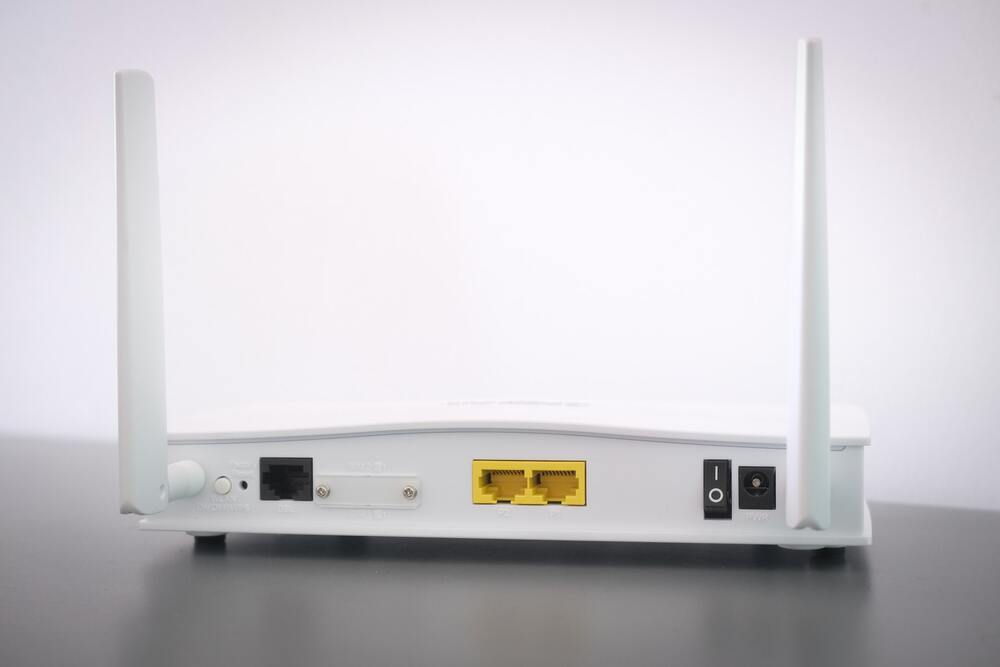
Even if your cable is in perfect condition, a clogged port or broken pins can create these connection issues. So, you need to inspect the ports on the router as well as the hub.
There is a good chance that excessive debris in the unit is creating problems with the Hive hub not connecting, and you will need to clean out these ports to get the desired performance.
Simply blowing some air into the unit should be enough to troubleshoot this problem, and you can further check for broken pins to isolate the problem.
Ideally, cleaning the ports should improve your situation, and the hub will connect to the router without any problems.
4. Reset Hub
If you’re sure that the ports are clean and there is nothing wrong with the wiring, then it is a good option to reset the hub.
This will remove all the configurations from your device, and you will have to go through the setup process again. So, it can take a while to reset and connect all the smart devices to the hub.
To reset the hub, you will just need to hold down the power button on the device for 15 seconds. Once the hub has reset, you can try to connect it again, and the issue should be fixed.
5. Reconnect Devices
Some users have also pointed out that removing the smart devices from the hub and trying to pair them again is a good method of getting ahead of the connection issues.
So, if you’re not getting anywhere with the steps mentioned above, then make sure to get rid of all the devices paired with the hub and add them again.
There is a good chance that your Hive hub will start working after pairing the devices again.
You should also try calling the experts working at customer support regarding this issue.
The troubleshooting steps can vary depending on the specificity of the issue.
So, the experts will help you narrow down the actual problem, and you won’t have to waste time with any extra steps.
6. Try Changing Ethernet Mode
Another thing that you will have to do here is to change the ethernet mode to fast.
If you’ve yet to manage these systems and the device keeps on running into more errors, just go through the hub configurations one more time.
There is no debate that this issue is mostly related to the hardware side of things, but several owners had success changing the ethernet mode too fast.
So, even if your connection is not that decent, access the hub settings and then update the ethernet mode.
Ideally, all errors would be addressed right there.
However, if you’re still not sure about the router and the hardware side of things, then you will have to try out a new internet device and check for damage.
7. Use A Different Router
Using a different router or modem is a great method of figuring out the exact cause behind the issue.
If you’re not too sure about the situation and the router will not respond to any input, simply switch to a different one.
That way, you will be able to figure out whether the hub is to blame here or the router.
If you’re able to get a good response from the unit after changing the router, then that is all that you need to keep in mind. There is no point in relying on a damaged router in the long run.
As a last shot at fixing your old router, you can go through the reset routine.
This will get rid of all of the configurations from the router, and you will have to set up the smart units from scratch.
However, this gives you a decent shot at fixing the connectivity error with the Hive hub.
However, if you’re still stuck with the same errors and the unit will not get through the connection routine, then the chances of hardware damage increase by a huge margin.
So, you need to further isolate the issue with the smart unit.
8. Check For Hardware Damage
Lastly, you just have to check up on the hub for damaged sections, water damage, discolored regions, cracks, and frayed pieces.
If you find any sort of issue with the hardware, then the problem is out of your hands. You will not be able to fix the device on your end.
The best thing to do here is to proceed with a warranty claim. There is nothing more that you can do on your end to fix these issues.
So, be sure to check up on the hardware and proceed with the fix accordingly.
You will have to call the dealer and then explain the situation to him. This is especially true if you believe that the smart hub got damaged during delivery.
So, if you’re in the same boat, don’t try to fix the unit by yourself.
You might void the warranty trying to mess with the internal circuitry, and you should let the dealer take charge of this situation.
Similarly, you can also reach out to the official support team about this error if you can’t seem to get a response from the dealer.
These experts will help you get through the error in no time after the main cause behind the issue has been identified.
Wrapping Up
The Connectivity errors with the Hive hub can undoubtedly be hard to maneuver through. However, the situation is mostly related to the port and the response from the modem itself.
So, you will need to refresh the connection, check the cables, and then go through with the reset routine.
Be sure to exhaust all other options before going through with the reset.
Setting up the unit from scratch can take hours, depending on your existing system, and you will need to make sure that it doesn’t come to that.
However, if you’ve tested out everything and the unit still won’t connect, then the only option left is to reset the unit.
You will have to manage the system accordingly and then get some new cables to help with the connectivity status.
If everything goes well, you will not have to deal with the same issues again. Just be sure to keep the cables in good condition and clean up the ports once every few weeks.
On the other hand, you can always seek help from a professional or reach out to the official support team.
